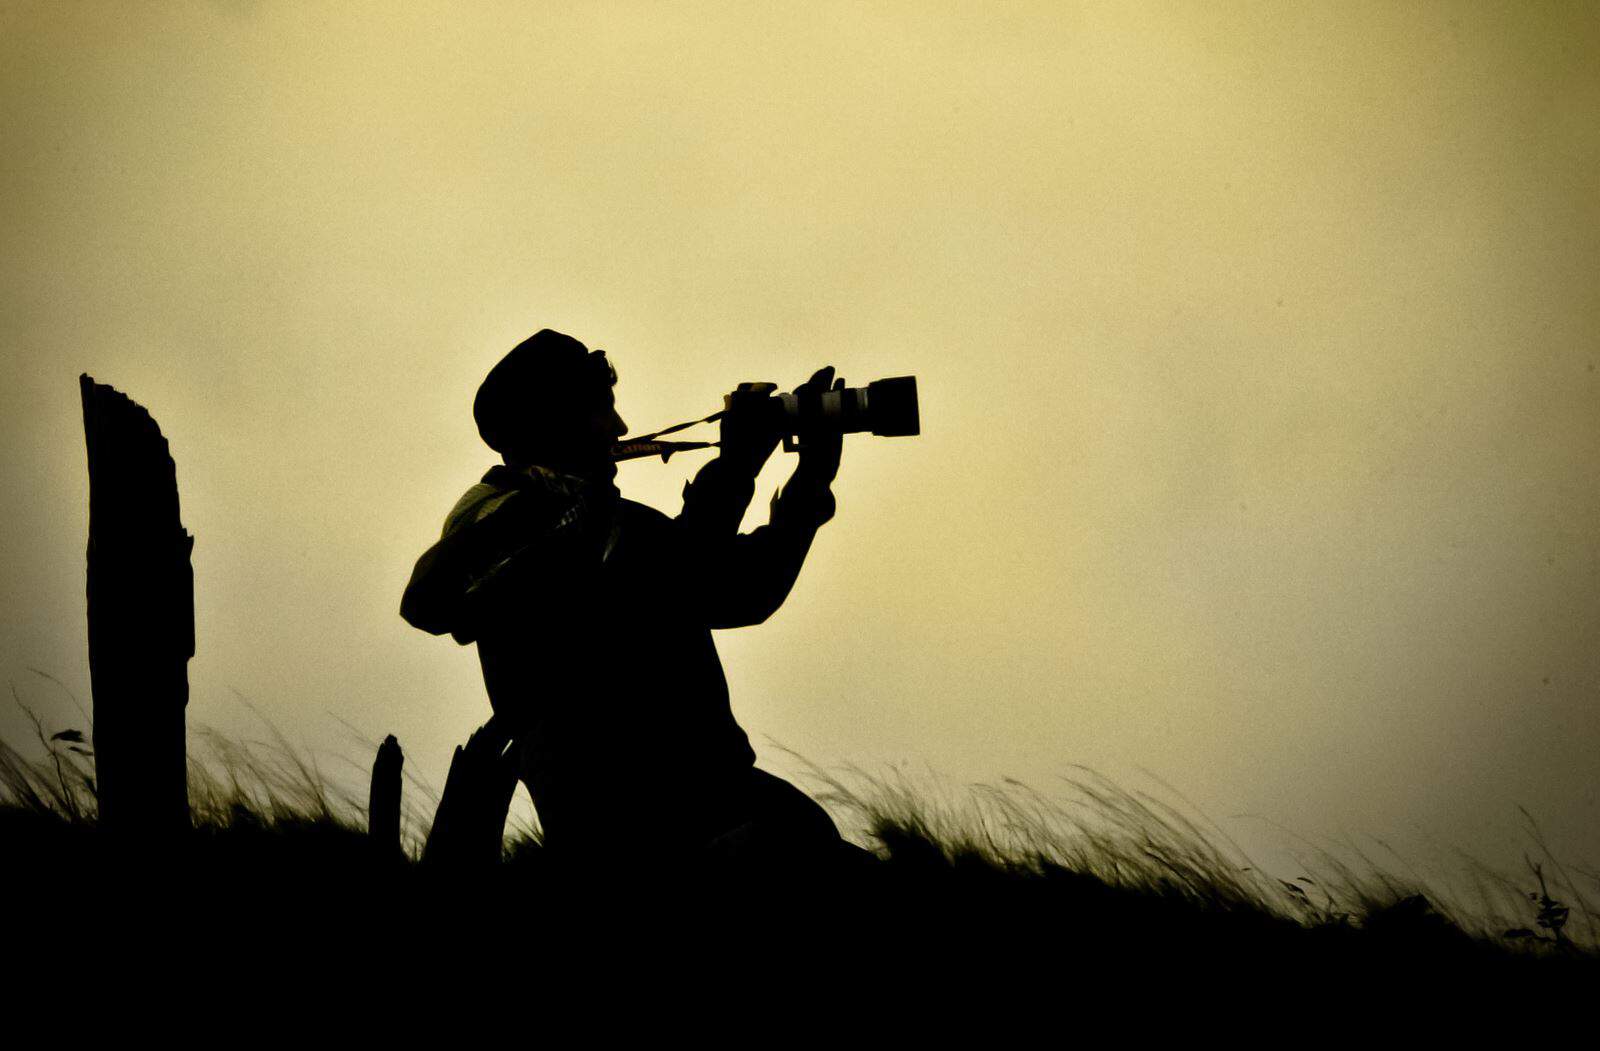
How to Backup Your Camera Photos Without a Laptop
It’s a bit of an irony that the best gadgets for taking photos are the most frustrating to back up.
With a couple of taps, any traveler with a cheap smartphone can start automatically saving their travel shots to cloud services like iCloud or Google Photos. Throw in a low-cost USB adapter for Lightning or USB C, and they can copy photos to a memory stick just as easily.
The serious photographer with a high-end camera, however? They’ve got more hoops to jump through, especially while out in the field where conditions are tough, time is short, and carrying a laptop can be impractical at best.
Often, those with the most to lose from not backing up their photos are the ones least likely to do it regularly. With a bit of preparation and the right gear, though, keeping those valuable photos safe can be simple and speedy, even when your laptop is thousands of miles away. Here’s how to do it.
Back Up Straight From the Camera
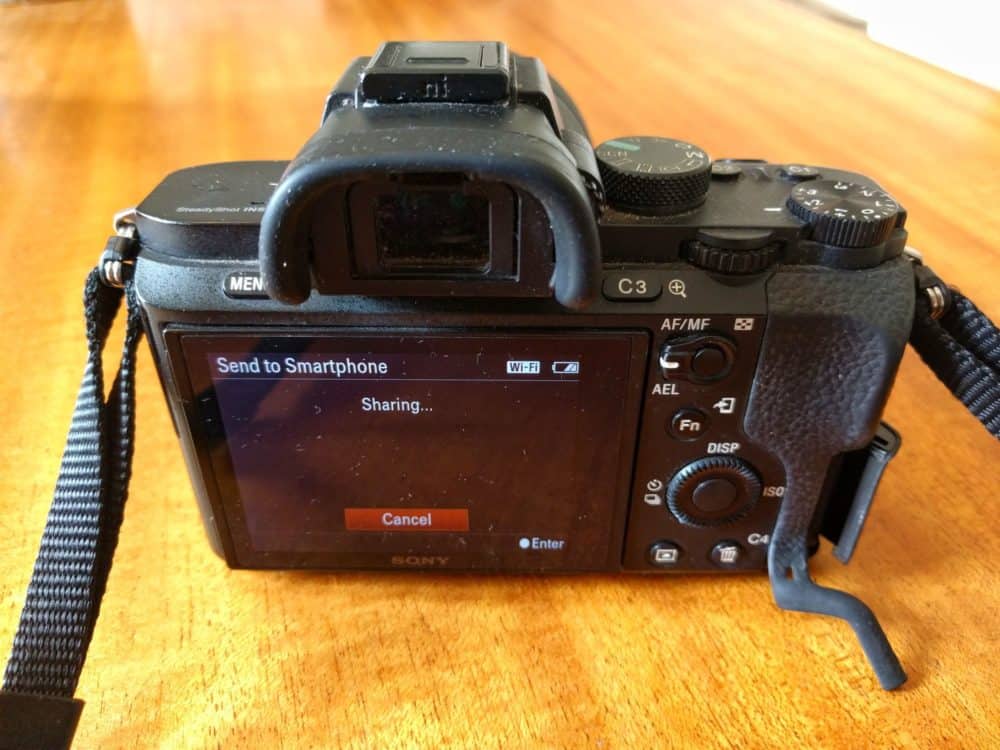
Most high-end cameras, and many mid-range versions, now come with some kind of Wi-Fi ability built in. Exactly what that lets you do depends on the model, but typically, it at least means you can connect to an app on your phone or tablet.
Generally, you’ll set a wireless network name and password on the camera, then connect to that network from your other device. Sometimes you can connect both gadgets to an existing network instead, or use Bluetooth rather than Wi-Fi.
Regardless, once you’re connected, the app will then let you send some or all of your photos from your camera to your device. Unless you’ve got many hundreds of them to move across, the copying usually finishes in a minute or two.
If your camera supports it, this is a simple way of keeping on top of your photo backups. I’d suggest doing it before bed each night rather than when you’re just about to head out in the morning: if you’ve got a lot of photos, it can take a while to copy them all across.
Camera doesn’t offer this option? Don’t give up just yet.
Back Up From Your SD Card
If your camera doesn’t have Wi-Fi support or the above method doesn’t suit for some other reason, there’s a flexible alternative: backing up from the SD card.
Standalone Backup Devices
There used to be a few different companies catering to people who wanted something like a portable hard drive with an inbuilt SD card reader that didn’t need to be connected to a laptop, tablet, or phone to work. These days, however, not so much.
As I update this in 2023, the company behind the Gnarbox 2 has gone out of business, and the Western Digital My Passport Wireless Pro has been discontinued. That’s a shame, as it was one of the rare portable drives that let you automatically back up an SD card just by pushing a button on the front of the drive.
The same goes for the Lacie DJI Copilot, which did something similar. Even the RAVPower Filehub that I reviewed a few years ago and offered a less slick way of achieving the same goal seems to have gone the way of the dodo as well.
The only thing I’ve found that even vaguely fits the bill these days is a disk duplicator like this: the idea is that you attach a card reader to the source port, plug a USB stick or portable drive into one of the destination ports, and clone the former to the latter.
It’s not the greatest of solutions, which is why I haven’t bothered getting one to test. Powering it while in the field is a pain, since it expects to be plugged into a wall outlet, and you can only clone your source card in its entirety, wiping anything on the destination storage in the process.
Personally, it’d be too much of a hassle for me to bother with unless I didn’t have a phone or tablet with me. The chances of that these days seem vanishingly small, so I’d be far more likely to just use one of the options below.
Get regular updates from the world of travel tech and remote work
News, reviews, recommendations and more, from here and around the web
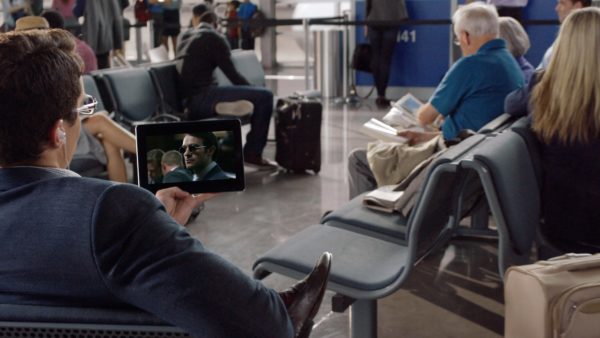
Back Up to a Phone or Tablet
If you’re traveling with a phone or tablet, you can also back up your SD cards directly to them. It’s a cheap and cheerful approach, since you’re not paying for extra storage. Just make sure you’ve got enough spare capacity on your mobile device to store everything!
- For those with an iPhone or iPad, Apple makes a Lightning to SD Card reader. Plug one end into your device, the SD card into the other, and use the accompanying app to copy the files across.
- As long as you’re running at least iOS 13 (almost everyone by now), you’ll get more flexibility with Apple’s Lightning to USB 3 adapter. It lets you plug in any USB accessory like a hard drive, memory stick, or card reader, and copy files backward and forward. Depending on what you’re connecting, you may need a cheap powered USB hub as well.
- If your Android device has On-The-Go (OTG) support, you can plug a simple USB C or micro-USB card reader into it and use a file manager app to copy the photos across.
- There are also combination card readers like this that come with Lightning, micro-USB, and USB C connectors to use with both Apple and Android devices.
All of those are good, low-cost ways of backing up your camera photos using a device and storage you already have. The annoying bit, of course, is that you’re limited by how much free space you have left on your phone or tablet.
In most cases, the obvious answer is to copy the photos onto your device from one SD card, then copy them back onto a different SD card (or if you’re using a USB adapter, onto any other portable storage you happen to have).
You might need to do it a few times, depending on how much free space you have and how many photos you have to back up, but at least it’s possible.
An Even Better Option, If You’re Lucky
If you have the right model of Android device, though, you might be able to eliminate that two-step process. I was experimenting with this recently, and discovered something interesting.
Like many similar models, this Startech USB C hub has support for SD cards and USB drives. Plugging it into my Google Pixel 6a with both types of storage connected, I could only pick one or the other to copy files to and from. That meant I still had to send them to my phone first.
Plugging it into my ancient OnePlus 6T, however, I was able to access both types of storage at once, and there was no problem copying a bunch of photos from the SD card directly to the USB stick in one step. Success!
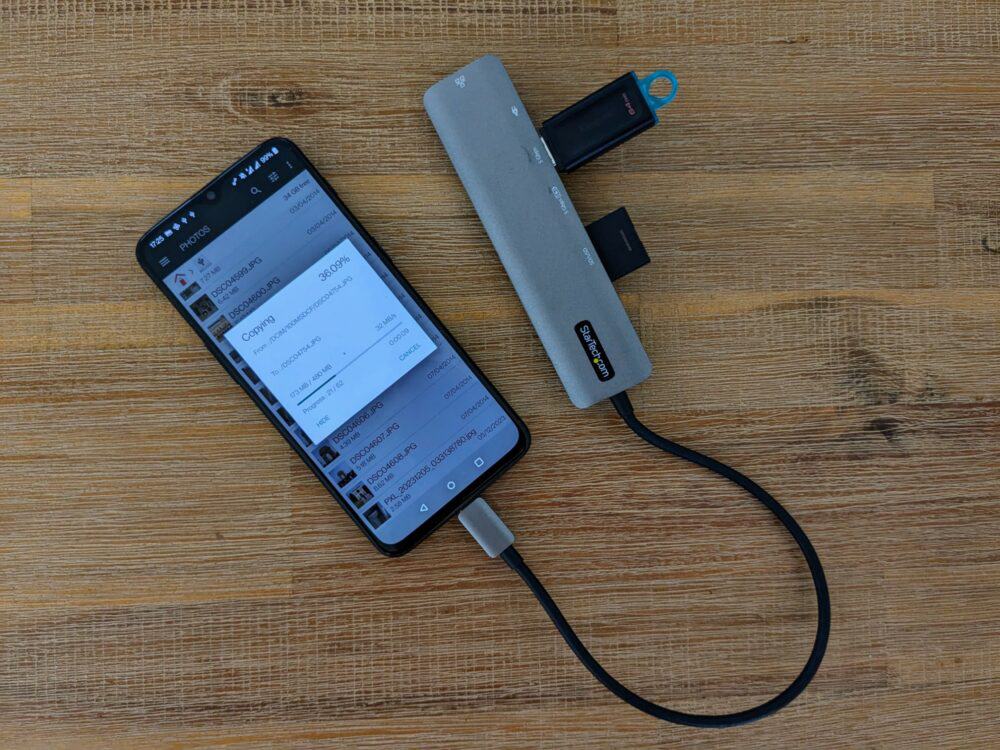
Of course, the problem is that approximately no manufacturers tell you whether their phone model and version of Android supports using multiple OTG storage devices at once. It’s an incredibly niche thing, so much so that I suspect no mainstream reviewer tests it either.
In other words, you’re probably going to have to start digging around in support forums, or just try it out for yourself and see how you go. Worst case, you’ll still be able to back your photos up, it’ll just be a two-step process. Best case, well, it’s your lucky day.
So there you have it. While backing up camera photos requires a bit more effort than those taken on a phone or tablet, it doesn’t have to be a huge pain in the you-know-what.
As long as you’ve got some charge left in your gadgets, almost all all of these approaches will work no matter where you are. There’s no need to find a wall socket, internet connection, or anything else.
Just backup and go, safe in the knowledge that a stolen camera or corrupted SD card isn’t going to completely ruin your trip.
Main image via Robert Cooke, phone and hub image via author


Having lost a bunch of photos cos I messed this up, I have to say this is a very useful post. Thank you.
Good point! But a serious photographer may not be using SD cards. Many grown-up DSLRs shoot to compact flash cards. Which call for a different solution.
Not necessarily – it’s possible to buy external CF card readers almost as easily as those for SD cards, and the direct camera-to-phone option will work either way. There are fewer choices for sure, although I’d expect most current ‘grown up’ cameras to have wifi these days.
What’s the difference between the RAV file hub and the ASUS? Do you also need a SSD as well as SD card for the RAV?
The Asus has an inbuilt SSD. The RAV doesn’t have storage of its own — it’s essentially a bridge between whatever gear you have (your phone, an SD card, a portable drive, a USB stick etc). You don’t have to plug an SSD into it, but you can.
The Samsung T5 looks great. I’m quickly running out of space on Android phone with micro SD, Canon with regular photo SD card, mp3 player with voice recordings, Macbook Air with digital art and photo/video edited files all of which need to get off devices to free space, let alone back up. How to manage? Do I need a separate SSD for each device/ file format? How do others manage such confusion? Thanks
If it was me, I’d try to use the Macbook as the central place where I back everything else up to (the SD cards from the phone and camera, plus the MP3 player if that’s possible), and then send everything from there to external drive. You’re least likely to run into file format concerns that way.
I’m looking for a way to backup my photos while on safari (Canon 5d mk 3, 1 sd card & 1 cf card) may not have access to WiFi, not built in on this camera. If I use one card as a backup it reduces the number of shots I can take. I’m happy to buy a portable hard drive, it would be handy for other things but I’m not sure how I could do the back up without a laptop which I don’t want to buy. Hope you can help.
You don’t say whether you’re traveling with a phone or not. If not, I’d suggest looking at the WD MyPassport Wireless mentioned in the article — it lets you back up an SD card without needing a laptop or phone.
If you have a phone or tablet with you, just pick the iOS or Android camera-to-phone option I mention in the article — as long as you have enough space on your phone to back up your photos, it’ll be a cheaper alternative. If you don’t have enough space, the Gnarbox is an alternative option, which also lets you plug in a USB CF reader, so you can back up both SD and CF cards.
After getting ios 13 on my iphone se, along with the apple usb 3 adapter, I now use an amazon basics powered hub, a 2tb ssd drive and a usb card reader to copy/backup files. It’s ridiculously easy and I don’t even need to power the usb 3 adapter (just power the amazon hub)… good times!
Thanks James — yep, the addition of proper file management support for USB devices on iOS 13 has made a big difference. I’ve added a mention of this approach to the article. 🙂
I would recommend one of these very affordable hubs https://amzn.to/3fe1CRY
It comes with sd card slot and USB ports on which you can connect external hard drive without having to spend a bomb on wireless hard drive. Simply plug your mobile phone to the USB C port and use any android file manager to copy from SD card to hard drive.
You can even stream movies stored on the external storage from mobile phone to TV screen through the hdmi port.
Most importantly, it is very portable the data transfer rate is really fast.
It’s a shame Gnarbox has gone out of business. My gnarbox broke, and then the app dissapeared from the app store leaving it bricked. Unable to contact support
LaCie Rugged Boss SSD is a good alternative, if you can find one. $470
From their web site, “When you need to back up, review, and manage content in the field—without a laptop—there’s a special Rugged for that—Rugged BOSS SSD. Short for Backup On Set Solution, our BOSS drives let you directly back up files from SD cards and other USB devices and monitor transfer progress, capacity, and battery life via the built-in status screen. But the real game changer? The LaCie BOSS app. To view and organize footage on set, simply plug your iOS or Android mobile device into the drive, pull up the app, and get to work.”
Yeah, I was going to recommend this as an option, until I discovered that it’s basically impossible to find now. Seems to be a common theme with these sort of devices at the moment!