I’m Dave Dean
For over a decade, I’ve been writing about the tech side of travel and remote work. Whether you blog from the beach, code from the couch, or just want to make better use of technology when you travel, there’s something here for you.
12+
Years
70+
Countries
700+
Articles

REMOTE WORKING
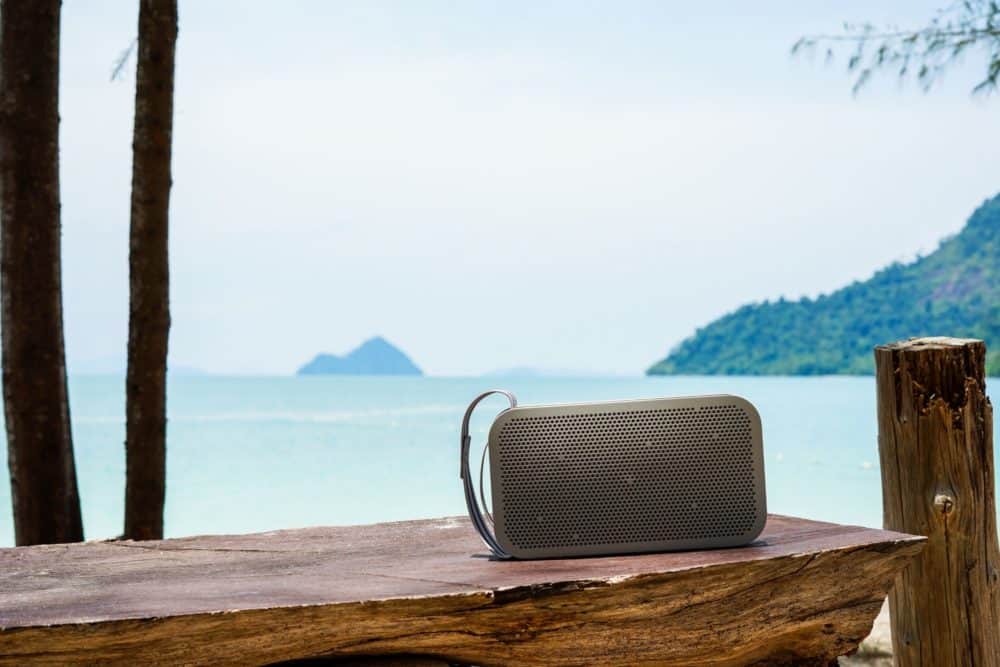
From the bedroom to the beach, remote work is everywhere
I’ve been dealing with the challenges of remote work for over fifteen years: you could say it’s in my blood. Whether you earn your living from a beach hut in Thailand, your RV, or the corner of your living room, I’m here to help.
Staying Connected Around the World
First-hand experience buying SIMs and eSIMs in 65+ countries!
Staying Connected Around the World
First-hand experience buying SIMs and eSIMs in 65+ countries!

North America

Central America

Africa

South America

Europe

Middle East

Asia

Oceania
Get updates from the world of travel tech and remote work
Latest Reviews
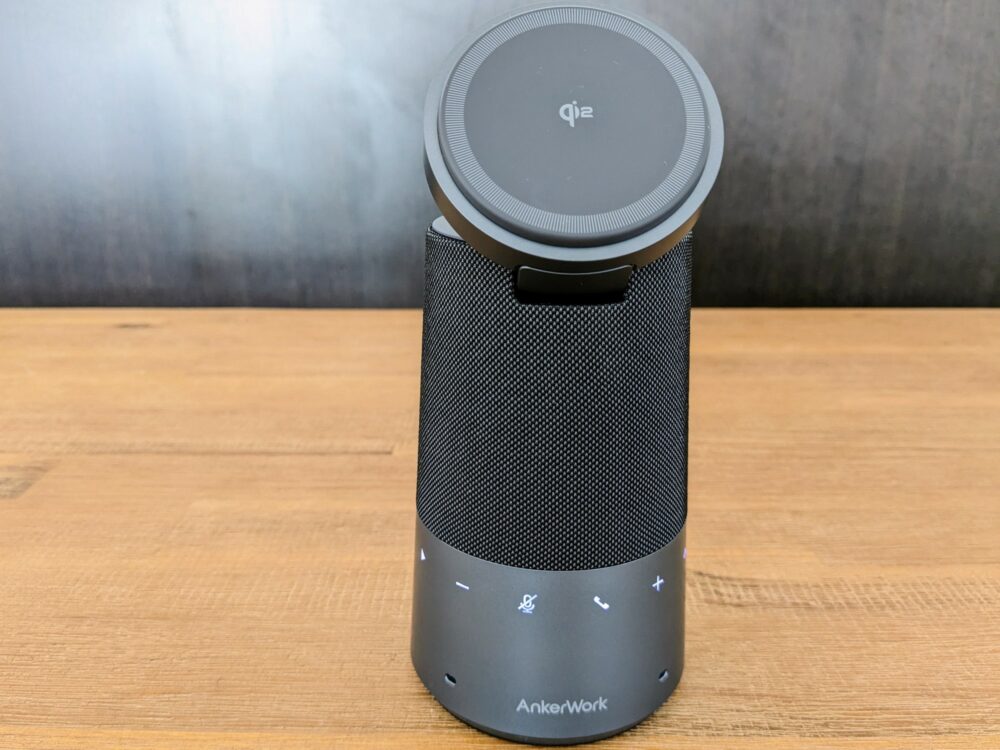
AnkerWork S600 Speakerphone Review: Background Noise Begone
If you’re in the market for a speakerphone for your home office, the AnkerWork S600 is the one to buy…

Lokithor AW401 Review: Not Your Father’s Jump Starter!
The Lokithor AW401 has no shortage of features, but how well does it perform? We put it through its paces…
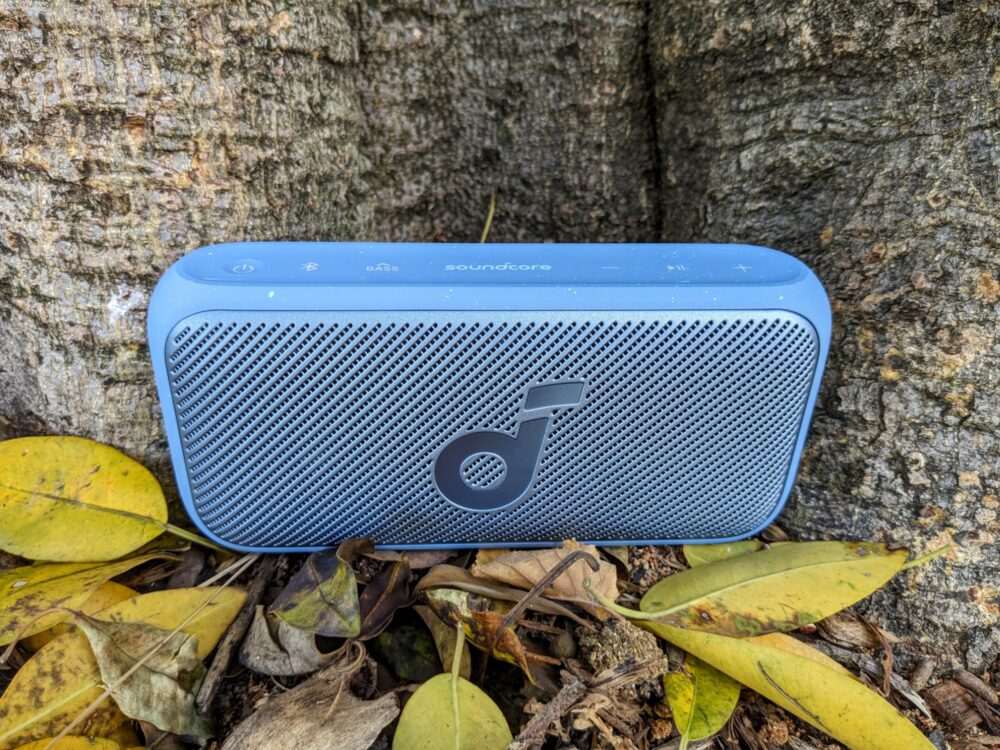
Soundcore Motion 300 Review: Great Sound, Better Value
The Soundcore Motion 300 portable speaker delivers a rare combination of great sound and even better value for most people.
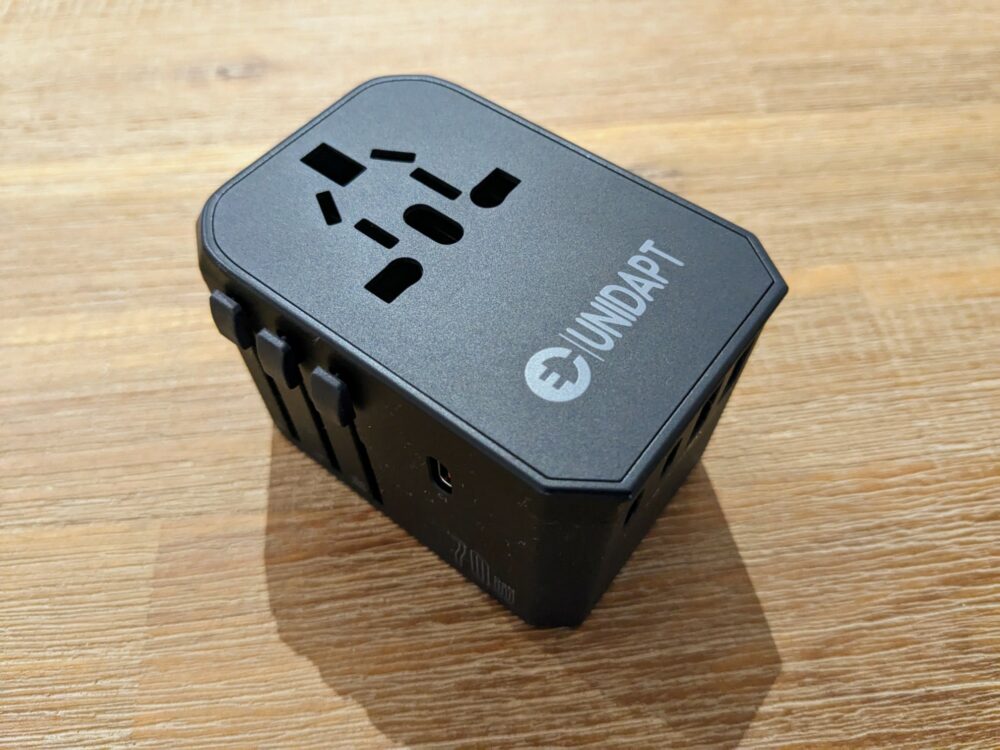
Unidapt 70W International Travel Adapter Review: It Does It All
I review the new Unidapt 70W international travel adapter, and come away impressed.


Get updates from the world of travel tech and remote work
Most Popular

What’s the Best Travel eSIM in 2024?
A detailed look at the best (and worst) eSIM options for international travelers who want to stay connected.

These Are the Best VPNs for Travel Right Now
Think you don’t need a VPN for travel? Think again. Here’s why, and what we’re recommending right now.

19 of the Best Mobile Games That Don’t Need Internet
The best mobile games you can play offline, available on iOS and Android.