How to Remove People From Your Travel Photos Using Photoshop
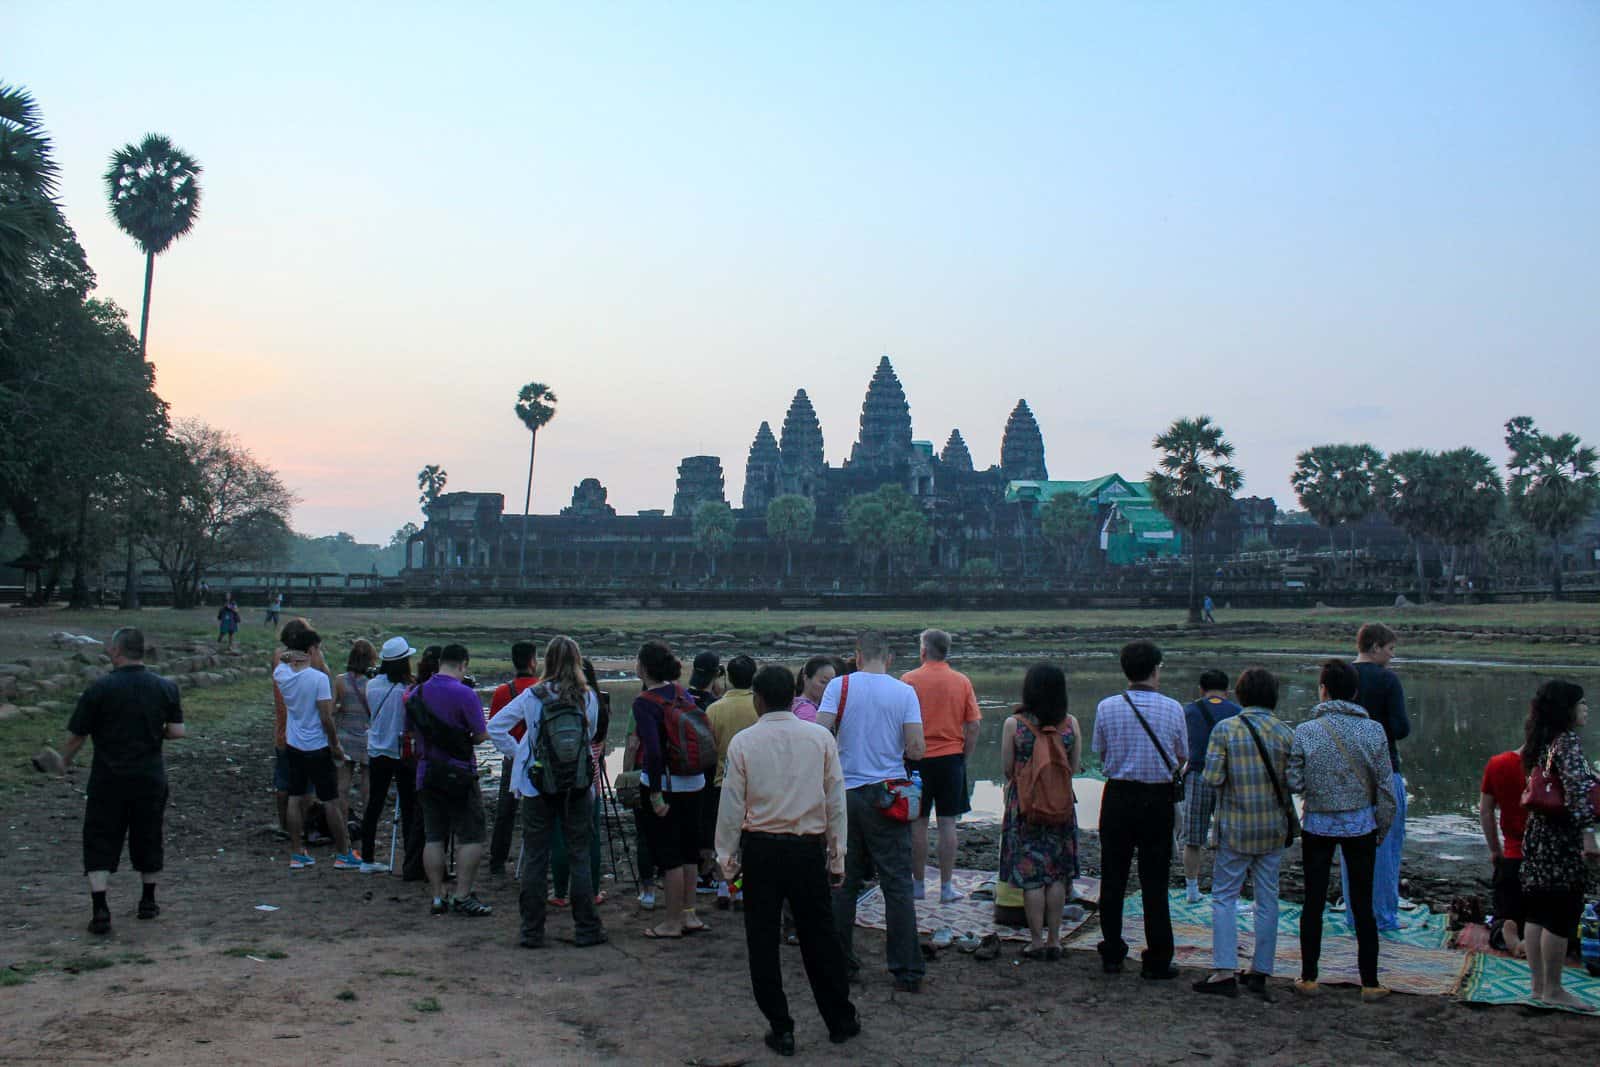
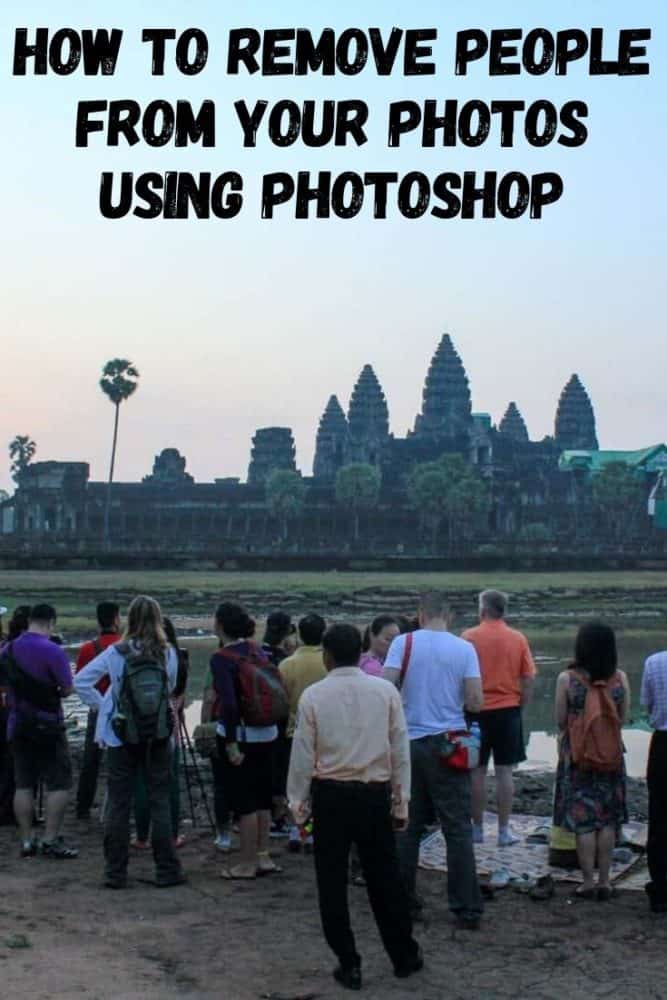
We may earn a commission from purchases you make after clicking links on this site. Learn more.How many times have you visited a beautiful place only to find it completely packed with tourists resulting in, for example, a sunrise at Angkor Wat with more people than wat?
While I don’t necessarily recommend trying to edit people out of all of your travel shots, it’s still fun to play around and view a place as it would look with nobody else there.
Fortunately, Photoshop makes it surprisingly easy to get these postcard-style shots. All it takes is an extra couple of minutes setting up your camera.
For this tutorial, I’ll be using the Mac edition of Photoshop CS6 Extended, though users of Photoshop CS3 Extended and above for both Windows and Mac will be able to follow the same steps.
This technique utilizes a script in Photoshop that takes the statistical average of a series of photos. For example, if you set your camera up on a tripod and take 20 photos of the same scene, it’s likely that the people in those photos will be moving around and changing location between shots.
When you load these photos into Photoshop the script works by identifying identical areas (the static background) and removing everything that changes between shots (the moving people).
As long as the people in your photos are moving around enough, you’ll be able to stack all the images together and end up with the following (click to enlarge):
Here’s How to Do It
Choose Your Location Carefully
The first step is to choose your location carefully. Find somewhere where there aren’t many people gormlessly wandering around.
If there’s a big attraction and everyone’s standing and taking photos, you’ll struggle to get a clear view without people in the way. Instead, find a place where there’s a lot of movement. I chose the location in the photo above because it was a hiking trail, so every person in the shot was walking.
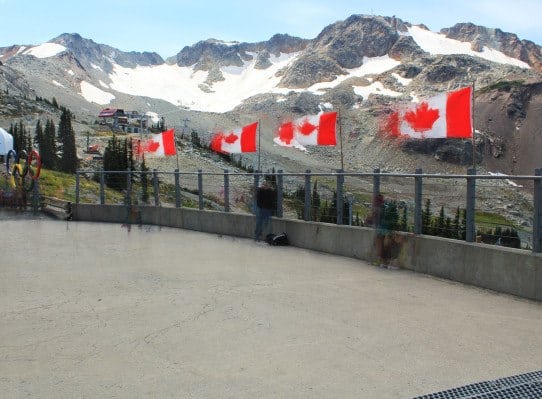
Finally, take note of the actual landscape too. Waterfalls will end up blurry, and objects like flags will end up being removed. It’s also best if it isn’t a windy day, so you don’t get trees moving and clouds drifting. These will end up as a blur in your final image.
You want lots of movement from the people but as little as possible in the background. The example below shows why you don’t want things like flags in the photo, and shows why you should choose a location where the people are constantly moving.
In this case, people were leaning up against the railings and taking photos. Because they weren’t moving much I was unable to get a clear shot of what was behind them.
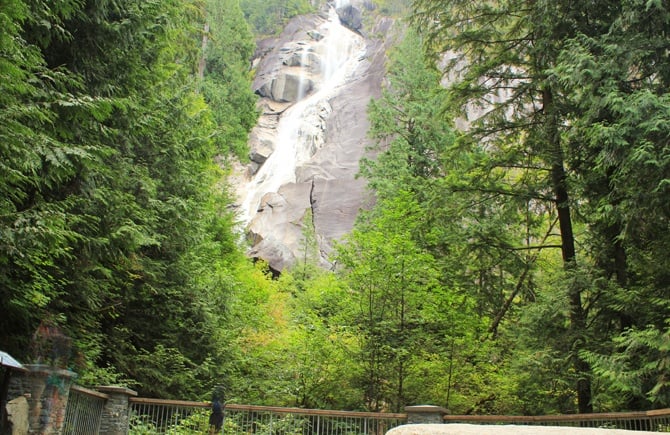
In another example, you can see that although there were originally dozens of tourists in front of this waterfall, there was one guy at the front who didn’t move while I was taking the series of photos, as well as a couple of people who were studying the map to the left of the image.
This also shows how waterfalls will end up blurry from using this technique.
Use a Tripod
Given that Photoshop will align all of your photos afterward, it’s not absolutely necessary to use a tripod but I’d still recommend using one if possible. If you don’t have one then set your camera down on a wall or other solid surface to limit the movement between shots.
Shoot in Manual Mode
It’s important to make sure you put your camera in manual mode before taking the photos. If you choose any of your camera’s automatic modes, the camera will choose a slightly different shutter speed and aperture combination each time you take a photo. Instead, you want the exposure to remain consistent in each shot.
Get regular updates from the world of travel tech and remote work
News, reviews, recommendations and more, from here and around the web
Take at Least a Dozen Photos
Now that you’ve found the ideal spot to take your photos and have your camera settings sorted, you’re good to go. You’ll want to take a series of 10-30 photos, spaced around twenty seconds apart.
Keep an eye on the different parts of the scene. If there’s one annoying person who’s dawdling around, make sure you wait for them to move so you can get at least one shot of the scenery behind them.
Apply Some Photoshop Magic
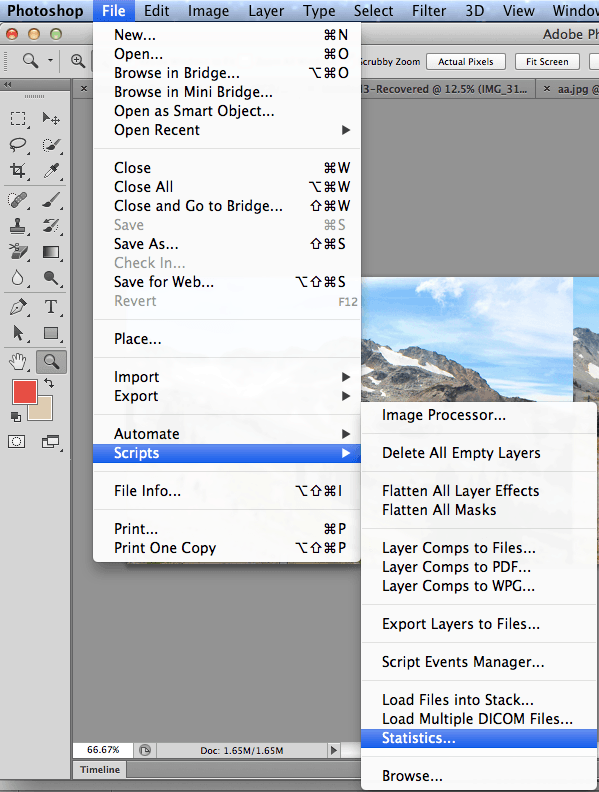
When you think you have enough photos, it’s time to head home and load them up into Photoshop. Start by clicking on File, Scripts and then Statistics.
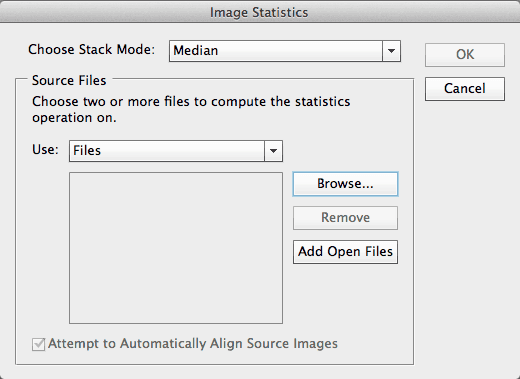
This will open up the Image Statistics window. Select median as your stack mode, and check the box for “Attempt to Automatically Align Source Images”, especially if you didn’t use a tripod.
Next, click on “Browse…” and select your series of photos. Click OK.
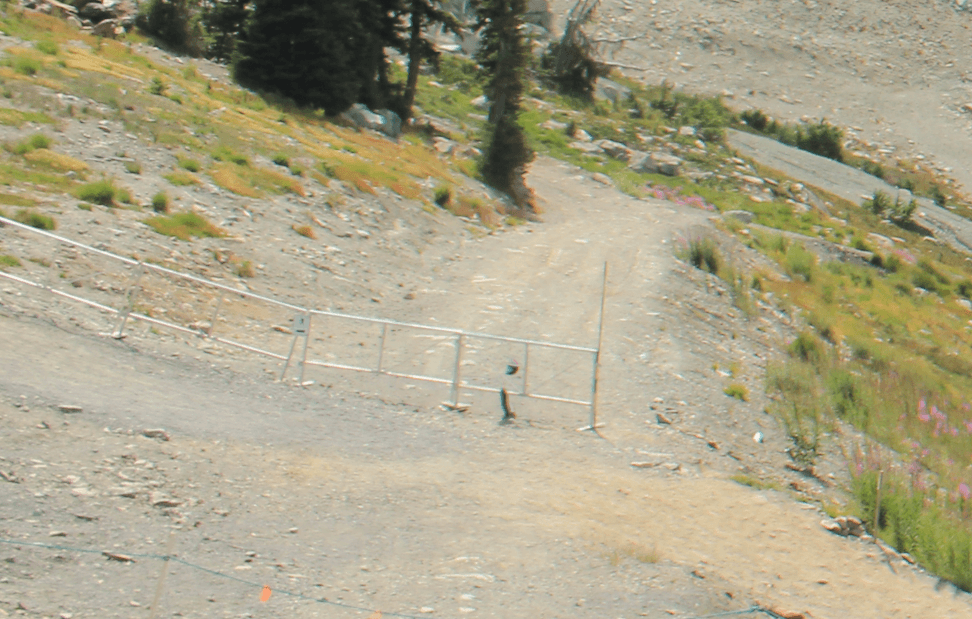
After 15 minutes of processing, I’m left with the following image.
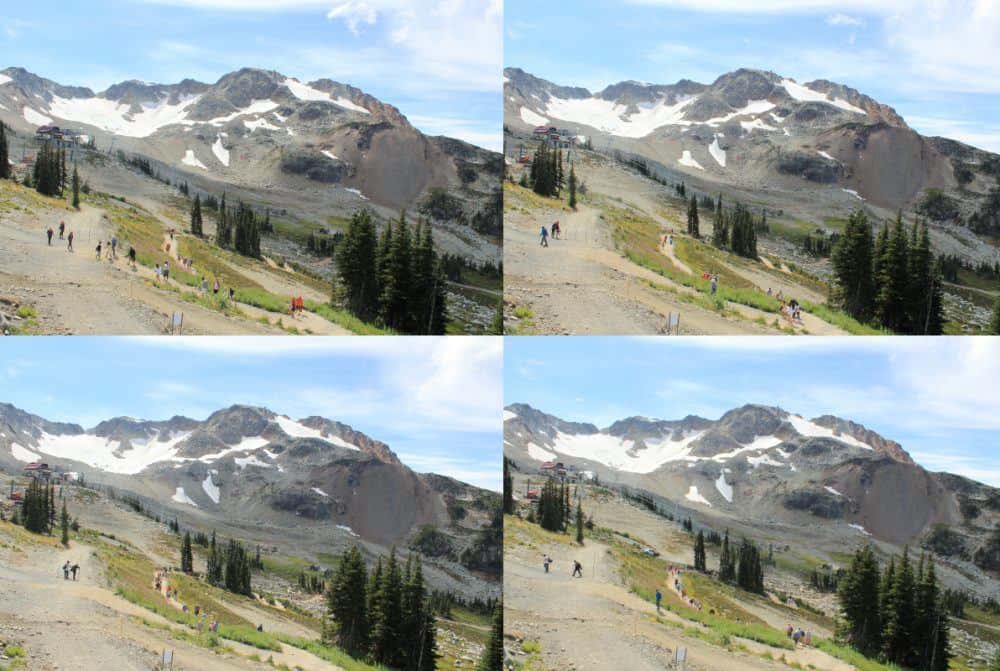
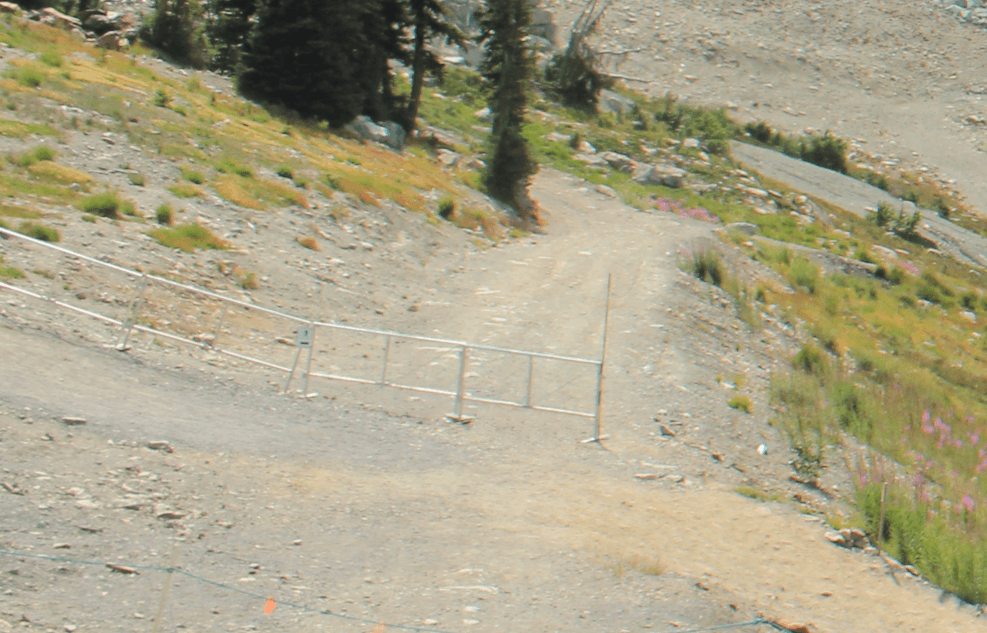
The script did a pretty good job at removing the people, but if you examine the image closely, you’ll see there’s some ghosting in the shot. A few people and limbs haven’t been completely removed:
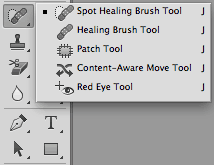
If you find that you have small traces of people remaining in the image, then use either the spot healing brush or clone stamp tool, or a combination of both to remove these.

To briefly summarise each tool:
The Spot Healing Brush works by sampling the pixels surrounding the selected area. It then takes an average of these pixels and replaces the selected area with this estimation.
The Clone Stamp works by taking an area of the image that you manually select and cloning this selection to another area.
You can read more about photo touch-up using the clone stamp and spot healing brush over on Adobe’s website. This method can also be used on single photos with tourists in if the background is plain, such as beach scenes with small people in the distance.
I used a combination of both tools on the photo to remove the stray limbs from the photo:
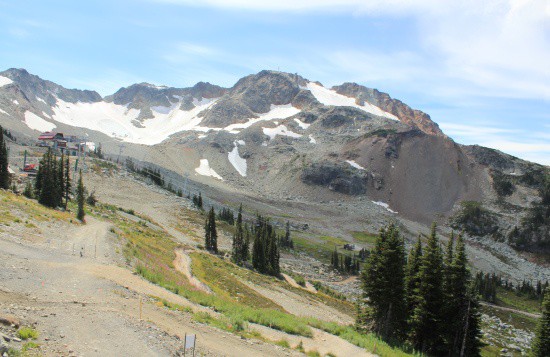
I’m then left with the following final image:

And there you have it! Who needs to buy postcards when you’ve got Photoshop?
All images via author





Ahhhh! Freakin’ awesome tips on here! I’ve always wondered how to go about doing this. Thanks!
No worries, Ryan! Glad you found it helpful! 🙂
Excellent tip! I’ve always cursed other people getting into my shots. Can’t wait to try this out for myself!
Let me know how it works out! 🙂
Loved it. Great post. I usually accomplishing this by being out before dawn, but sometimes I need this. (I am also going to have my wunderlust son follow your blog)
Thanks so much, Joe! 🙂
This is too cool! Excited to give this a try 🙂 Thanks!
No worries! Hope it all goes well! 🙂
Hi Lauren, there is another easy way to do this..
Just select the portion of image you want to remove with Quick Selection Tool then goto Edit > Fill.
Make sure the blending mode is selected as Normal and Opacity is set to 100%, now click OK & see the magic.
This way you can remove people and things easily from your photo.
Hope it helped
wow, this is awesome. I was previously used content-aware tool. but this tool is also very handy. Thanks for sharing 🙂
I have CS6 but cannot find the Statistic in menu. What verson of PS will this work on? Thanks for the post.
The flags thing is easy, You just have to mask/overlay/copy the top half from a single image of the series.
Excellent guide here. I’ve seen a few others for the same technique but none even mentioned simple touch ups like clone or healing.
Trying this in conjunction with every other bit of PS knowledge I have to get a shot of one of the busiest round-a-bouts in Ho Chi Minh at the moment.
I’m on a rooftop with a tripod and hoping I can get a glimpse of pavement under all these motorbikes. I have a feeling that with this much traffic, there wI’ll just be an enormous blur of traffic.
Can this be done on Photoshop Elements also?