How to Setup a Local Media Server in Your RV (Or Anywhere Else!)
When you’re on the road in your RV, it can be tough to find ways to watch the movies and shows you like.
Streaming over Wi-Fi can be an option, but most campgrounds don’t have the bandwidth for doing it. Using a mobile hotspot is a reasonable choice, but what happens when you run out of data? DVDs might also be feasible, but they take up so much of what little room you have.
This is why we chose to use a media server. For some, the idea of a media server conjures images of massive computers connected to gigantic storage drives. Fortunately, with many of the options on the market today, that’s just not true.
The reality is, our server takes up minimal room in our RV while storing hundreds of movies and shows for both the adults and the children.
The Hardware
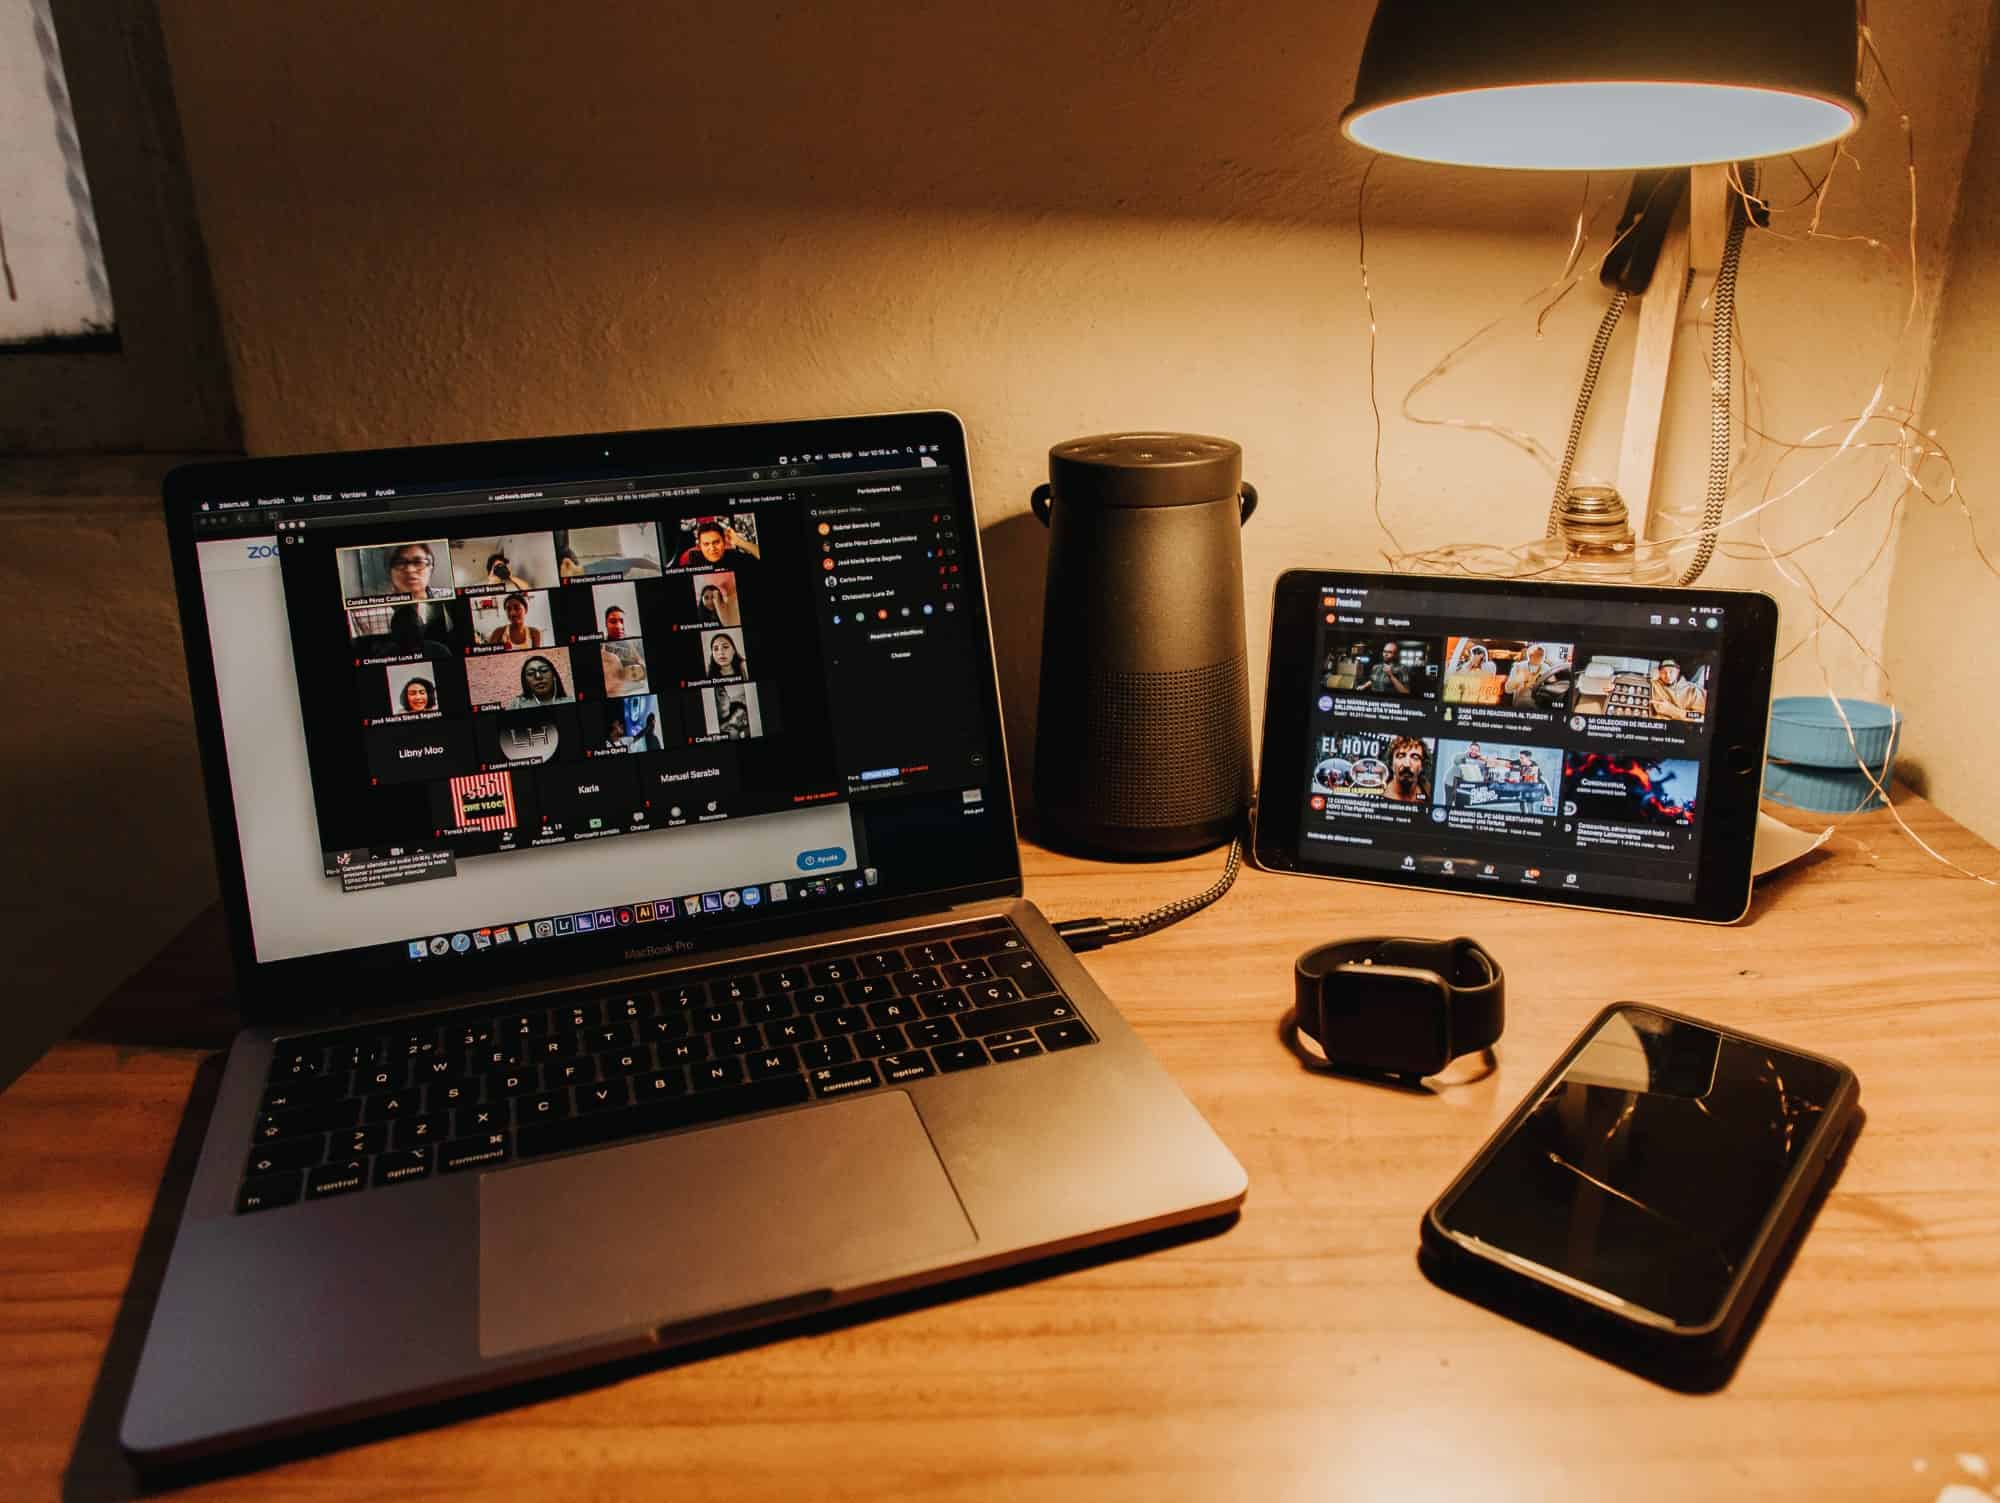
The great thing about today’s media servers is that you don’t have to have a fancy setup. We use an HP laptop for ours. There’s nothing special about it. We found it on sale at Best Buy and decided to go with it. It takes up minimal space, which arguably is the most important thing when traveling full time.
For a while, we were using one of our older laptops, an approach which worked fine. Most computers will do the job, just as long as they meet the minimum specs for the server software you’re planning to use. The hardware requirements aren’t all that high: if you want an idea of what you’ll need, take a look at the specs for running Plex.
Before you get too far into your server setup, you may want to think about adding an external device for storage. Our laptop has 1TB of local storage, which is a useful amount, but still nowhere near enough for the number of movies and shows we have.
As with the laptop, we found a 9TB hard drive on sale and bought it to store our content. Almost a year later, we’ve filled it a little over halfway.
Software Options
Once you’ve got your hardware sorted, you’ll need to install and configure your media server software. This is the program that does all the work behind the scenes. The options I’ve listed below all have good user interfaces that make navigating through your content easy — as long as you’ve set everything up correctly.
Plex

Plex is arguably the most well-known media server software option on the market. It’s simple to get started, and its flexible approach makes it perfect for managing all your movies, television shows, personal videos, and photographs.
You can set the Plex server up on a computer or laptop, or on a network-attached storage device (NAS). If you have a computer that’s pretty much on all the time, you should have no trouble making it the host for your Plex server.
Setup is mostly automated, and watching content from it is as simple as downloading the free player app for the platform you plan on using. Plex supports a wide variety of systems, including Windows, Linux, Android TV, PlayStation, macOS, AppleTV, and many others.
Plex users enjoy plenty of features right out of the box. For example, remote access and port forwarding work without the need for additional changes or adjustments, letting you connect to your media anytime, anywhere.
When you’re inside or near your RV, Plex automatically uses the local network for streaming, as long as your device and the server are on the same network. If you want to access your media from elsewhere, though, you can still do so: it doesn’t cost you anything extra to watch remotely.
There are times when we go to the park to let the kids play and we’ll sit on a park bench and watch our favorite TV show while they run around. It gives the kids exercise and the adults some time to themselves.
The menus are well-designed, intuitive, and easy to navigate. Just keep in mind that you might run into some slowdowns every once in a while if you have a massive movie collection.
Another nice feature is the way the software automatically downloads cover art metadata from IMDB. We’ve found a few instances where Plex used art from the wrong version of a movie or couldn’t find the film at all, but these have been exceptions rather than the rule.
Like its counterparts, Plex transcodes content on the fly, automatically making adjustments to improve quality and performance. However, keep in mind these will only be as good as the available bandwidth allows.
While you can enjoy most of what Plex has to offer for free, the platform does offer some of its nicer features only to those who upgrade to its monthly Plex Pass subscription.
This includes streaming content on your smartphone or tablet, downloading movies to your device for offline use, dashboard control from your desktop, and much more. You can also unlock the mobile apps for a one-time fee, if you don’t need the extra features of the Plex Pass.
Plex makes managing and streaming your media simple. Follow the instructions provided, and you’ll soon have all your video content together in a single place, ready for you to watch anytime you want. After testing various options, we ended up settling on Plex for our media server needs.
Emby
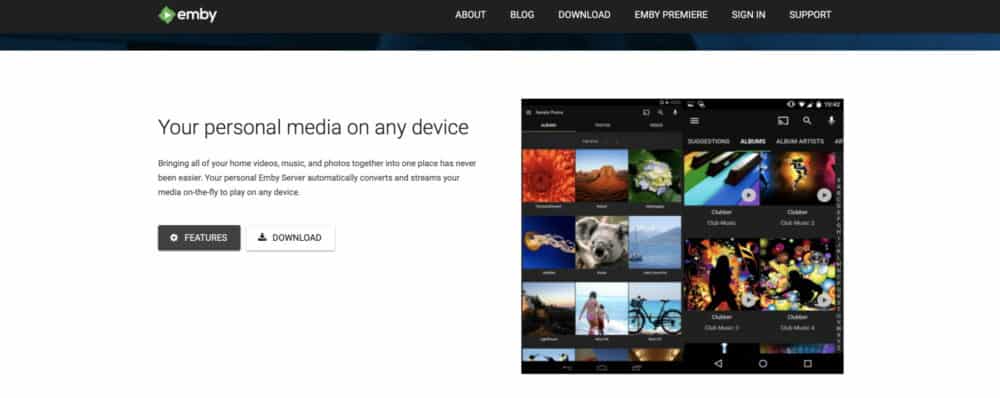
One of the newer software options on the market is Emby, which combines the clean and sophisticated look of Plex with the open-source capabilities of Kodi. It’s a little more complex to set up than Plex, so if you’re not familiar with media servers and how they work, you might want to start with a different option.
Emby was initially an open-source software project, however, in 2018 it closed the source and gravitated toward a business model that mimicked Plex. The platform started developing and offering plugins users would want and put them behind a paywall.
That said, even if you decide to use the free version, you’ll get plenty of features that make using Emby a solid media server software choice.
Like other media server platforms, Emby utilizes a client/server approach. You install the server software onto the host device, then install the playback client onto your smart TV, PlayStation, smartphone, or other connected devices.You can also watch on your PC if you prefer to stream content that way.
If you don’t want to pay for the additional services Emby offers, then you have to be on the same local network as the server to stream content. This approach works just fine for an RV media server.
The software automatically retrieves metadata and organizes your library, although I have to admit that Plex does a much better job in this area than Emby.
One nice feature that Emby offers that Plex doesn’t is creating profiles for specific users. You can also define parental controls for certain user profiles so children can’t access content they shouldn’t be watching.
For those just getting started in the world of media servers, the essential features Emby offers should be fine. However, soon enough, you’ll probably want to upgrade to Emby Premiere. For $5 a month you’ll gain remote access, DVR support, accelerated transcoding, offline viewing, and plenty of other useful features.
Unfortunately, the free version of the media server software won’t offer enough features for those who stream content on a regular basis (like us), making the Premiere features worth the investment. If you think the free version of Emby will get the job done for you, I’d recommend checking out Jellyfin instead, discussed below.
Jellyfin
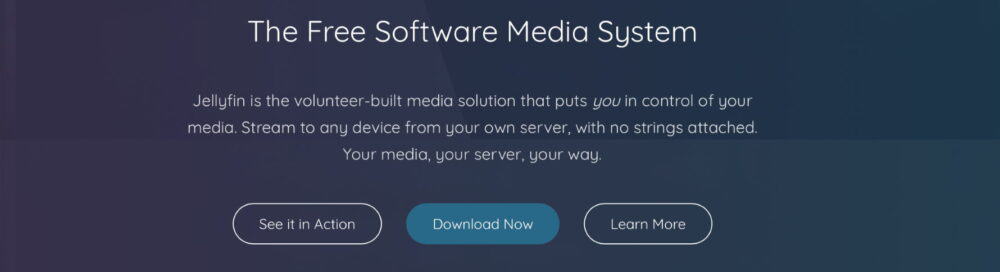
When Emby switched to a closed-source model, contributors created a fork called Jellyfin to keep an open-source alternative on the market. Jellyfin is completely free, with no additional services or features that you have to pay for. What you see is what you get.
Both DVR and live television functionality are built-in, and since Jellyfin doesn’t “phone home” to a central server, there’s no data tracking of your viewing habits.
The server software supports plenty of operating systems, including Windows, Linux, and macOS, along with a portable option that you can run on anything that includes a .NET core, such as most smartphones or tablets.
Even though the base server features are robust, the client apps could use more work on making navigation easier for the average user. Bear in mind that the software is always in development, though, which means it’s only a matter of time before things change.
You can use your Jellyfish client to watch content on Android or iOS devices, web browsers, smart TVs, and more. If you’re the type of person who prefers to have an open-source and completely free media server, Jellyfin is an excellent option.
How We Set Up the Media Server in our RV
We use Plex for our media server, and setting it up was a pretty straightforward process. One thing to note before you start installing Plex, though, is that you’ll want to have all your content already organized in folders. Movies in a movie folder, TV shows in a show folder, and so on.
This is to ensure that when you link the content during setup, it’s ready to pull media from the folder in one seamless step. Alternatively, you could link the folders to the server first and then add the content later, but it won’t recognize the media type until content is added.
- Download and install Plex onto your server machine (in our case, the HP laptop.) While you’re on the downloads page, be sure to take a moment and check out client downloads as well, to make sure you’ll be able to watch shows on your favorite device.
- Install the server software on your computer.
- The software will launch, and you’ll be greeted with a login page. If you don’t already have a Plex account, sign up for one.
- Next, you’ll name your server. You can either leave it as the default name Plex gives it or change it to something more creative. Ours is ‘RV Media Server.’ Pretty clever, huh?
- Now you’ll add media to your server. Choose ‘Add Library’ to get started.
- Select the type of content you want to add. You can choose between movies, shows, music, photos, and home videos.
- Let’s use ‘Movies’ to get started. You can either leave it called Movies, which is what we did, or change it to something else. Then click Next.
- Next, you’ll need to point Plex to the folder that contains the files. We’d named the folder Movies, so there’s no confusion. Use the ‘Browse for media folder’ button to navigate the appropriate content.
- Now do the same for all your other media types. Music, TV shows, home videos: the process is the same.
- Continue through the process until Plex tells you that you’re ready to launch. Click the Done button. Your media server is now up and running!
One more thing to keep in mind is that it will take the server a while to update all its libraries after the initial setup. This step includes scanning through the files in the folder, finding metadata, and populating and organizing your UI. Don’t be surprised if it takes a while for your content to show up. It’ll be faster on future runs.
Client Devices
Plex supports a wide range of client devices, so you should have no trouble finding one that will work. We use our Android and Amazon TVs, Windows and macOS laptops, PlayStations, smartphones, and more to watch Plex.
All you need to do is find the app in the device app store, download and install it, then launch it. Use the same credentials you used to sign up for Plex, and you’re connected. That’s it! You are now ready to watch your media from anywhere you want, even when you’re not in your RV.
Problems We’ve Run Into
Being on the road full-time, we do run into a few problems with our media server. Sometimes they’re frustrating, but for us, having our content available is worth the occasional hassle.
The biggest challenge, as you might imagine, is connectivity. Wi-Fi on the road often just isn’t up to snuff, which makes remote streaming and downloading new shows difficult.
Since Plex will stream through the local network when it can, though, we don’t have to have internet connectivity to watch the shows and movies we like.
So long as we’re in the RV and the shows are already on our server, we’re good to go, with minimal buffering or delays. This is an excellent alternative to platforms like Netflix, Hulu, and Disney+ that require a connection to work.
Another problem we run into at times is streaming content to several devices simultaneously. We have four kids, so if everyone wants to watch something different using Plex, the server can bog down. It’s rarely a major problem, though: the kids usually all watch the same thing on the same device.
Get regular updates from the world of travel tech and remote work
News, reviews, recommendations and more, from here and around the web
Why We Like It
There are plenty of reasons we like using Plex in our RV, but the biggest one has to be access to content when we want it. If you’re a parent, you know there are days when you just want your kids to leave you alone for a bit. With Plex, they can watch a show or a movie, and we get peace and quiet for a few hours.
That’s not to say my husband and I don’t use it. We watch our favorite shows at night while we’re winding down. It’s a great way for us to wrap up our day and just spend some alone time together.
Plus, we don’t have to scroll indefinitely to find something interesting — if it’s on our server, there’s a good chance one of us put it there because we want to watch it.
Lastly, we don’t have to deal with the buffering that comes with trying to use streaming platforms on bad Wi-Fi. Sure, there are a few problems, but for the most part, we can watch the movies and shows we want anytime we want to.
For RV travelers like us, it’s a convenient, space-saving, and effective solution to our entertainment needs.
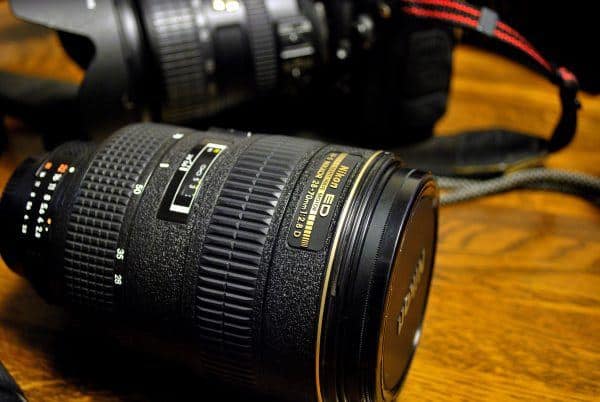
Main image via Gabriel Benois, screenshots via respective developers