How To Take Kick-Ass Travel Photos With Your GoPro
We may earn a commission from purchases you make after clicking links on this site. Learn more.GoPro has completely revolutionized the photography & video world.
I’ve been using one to record my adventure travel experiences for the past three years. It’s gone scuba diving with me, surfing, on public transportation, trekking up mountains, volcano boarding, skydiving, boating, rock climbing, snorkeling, hitchhiking and more.
Two of my images have even been featured on GoPro’s website as their “Photo of the Day”.
With a bit of practice, a GoPro allows anyone to get incredible action shots that were once only reserved for pros with very expensive gear. To maximize your success, I wanted to share a few tips to help you get the most out of this amazing camera.
Save Your Battery Life
GoPro cameras are incredibly small, but so are their batteries. To reduce your camera’s power drain and extend battery life, remember to turn off Wi-Fi when you’re not using it.
I also recommend turning off the camera’s sound and red LED indicator lights when not absolutely needed. You can still tell when the camera is on by looking at its LCD screen.
Finally, make sure you’ve got at least two batteries with you, and always remember to charge them up the night before.
Prevent Fogging
Fog will develop inside the plastic housing if your GoPro is exposed to changing temperatures and humid environments. When using it on a sunny day while surfing, for example, condensation can build up inside the housing due to the warm battery.
To help prevent this phenomenon, GoPro makes special no-fog inserts that work pretty well. In an emergency, a few grains of dry rice or slivers of toilet paper are better than nothing.
If you know you’ll be using it in a fog-inducing environment, I also recommend storing the camera and case inside a plastic ziplock bag with desiccant packs made from silica gel to further dry everything out when you’re not using it.
Underwater Tips
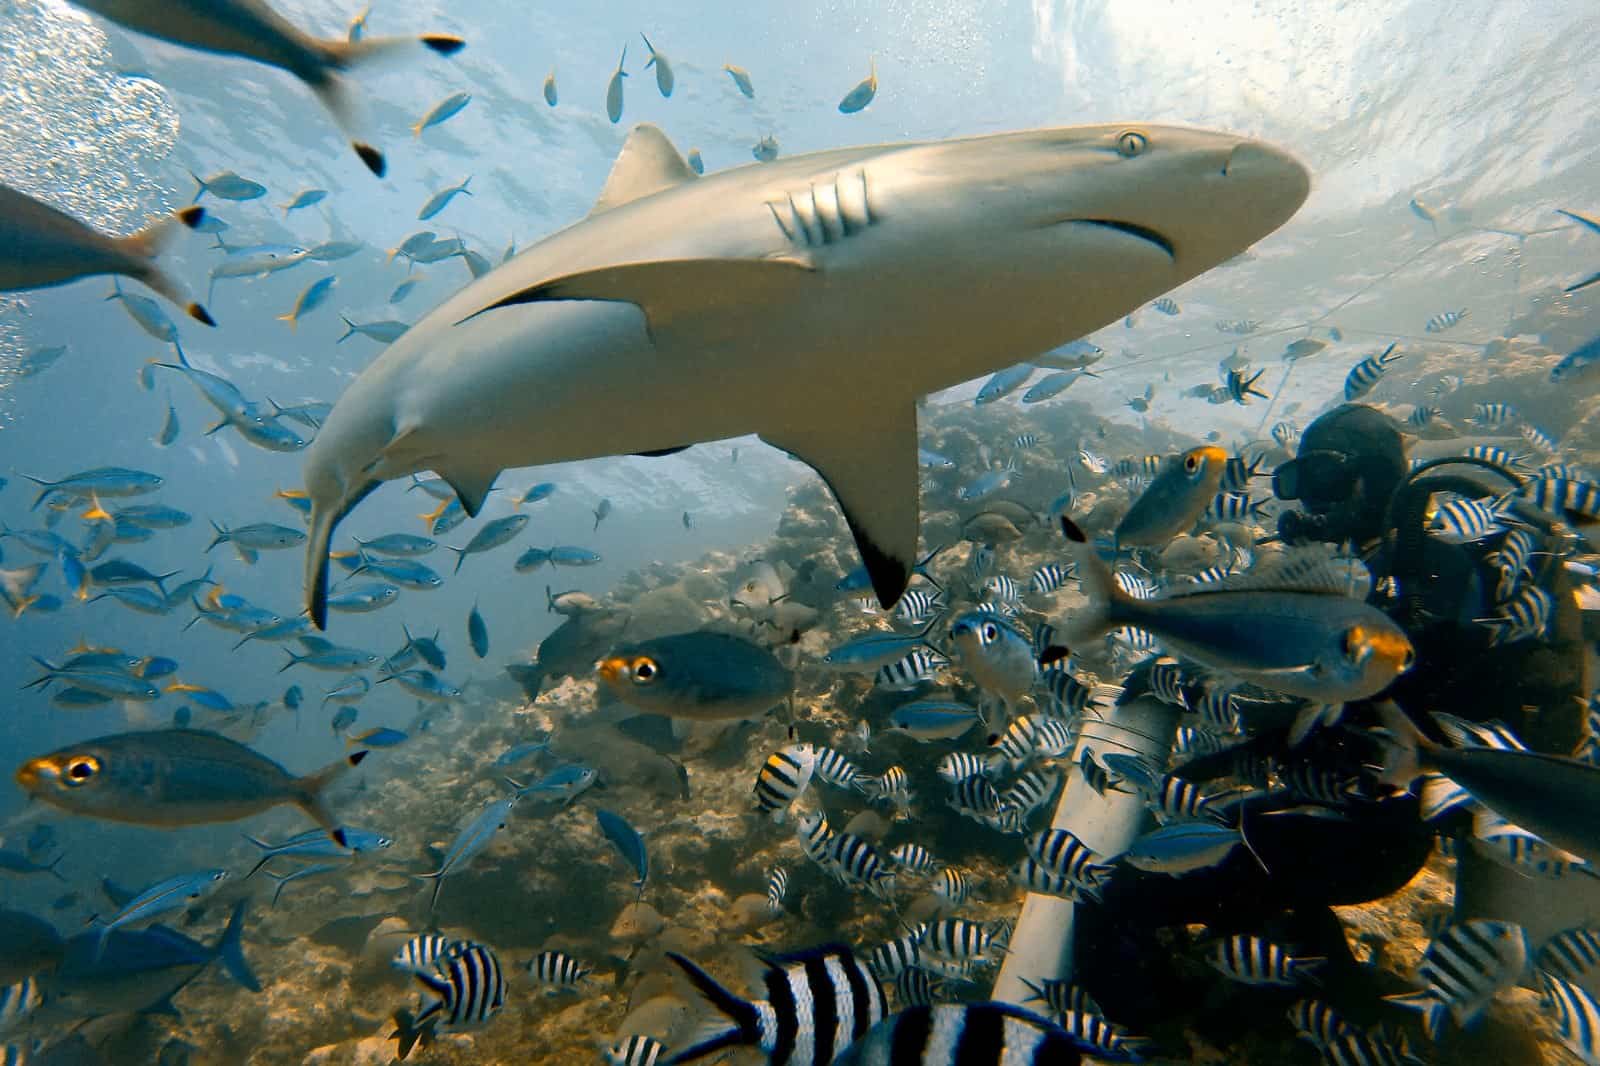
A GoPro will survive down to 180 ft/60 meters deep when inside its underwater housing, but image quality suffers without external lighting below a certain depth.
Generally I find that once you go deeper than 40-50 feet on a sunny day, you’ll start to have problems. The camera’s shutter speed slows down to capture enough light underwater, and slight movements will result in blurry photos. Holding it as steady as possible is important.
Red light also gets absorbed underwater the deeper you go, giving a blue hue to all your images/video. This can be reduced with a red filter, as well as underwater color correction in post-processing.
Tighten the Screws
As a dedicated action & adventure camera, your GoPro can handle a lot of abuse. To keep it aimed where you want, though, make sure to tighten all mounting screws with a small screwdriver so the camera doesn’t suddenly move around at the wrong moment.
Pack Plenty of Mounts
I’ve experimented a lot with mounting options for my GoPro. To keep weight down but allow the camera to be mounted in many different situations, these are my favorites:
- The Pedco Ultra Clamp is a quick and easy way to clamp your GoPro down onto almost anything. You’ll need the GoPro tripod adapter too.
- The Chest Mount is nice, but it’s a bit big and bulky for me, so I use the Vented Helmet strap to attach my GoPro to a backpack shoulder strap for biking & hiking.
- A collection of assorted curved and flat sticky mounts is also good to have with you. When done using one, you can remove the mount with a hairdryer and a knife (for example when renting helmets, kayaks, or other equipment).
- Some kind of waterproof camera extender will help with selfie photos, plus you can get perspectives that aren’t possible otherwise.
- I’ve also put together my own custom RAM Mount system. It’s a bit complicated to explain, but you can read more about it here.
- The regular head strap mount is a favorite too, great for all kinds of activities. Just make sure to keep it tight on your head, and try not to move around too much or the footage will be unusable.
Prevent Water Droplets
Water droplets resting on the outside of a GoPro housing can ruin photos and video if you’re not careful. This is a problem when you’re involved in watersports with splashing water: jet-skiing, swimming, surfing, etc.
One way to minimize rain droplets is to squirt the outside of your housing with RainX. Another fix is to just lick the droplets off once in a while, which works great!
Super-Slow Motion
Recording at high frame rates will allow you to slow down video footage later. Slow motion is smoother at higher rates because there’s more information (frames) to work with.
You’ll want at least 60fps for decent slow-mo, but the newest GoPro models can go up to 240fps.
Reduce File Size
Unless you’re shooting footage for a Hollywood movie, you probably don’t need to store full-size files on your computer. Use a free video editor like MPEG Streamclip to shrink your files down with Apple ProRes 422 for faster editing and more space on your hard drive.
You can upload the ProRes codec to edit these files with PC based software too.
The Locking Plug
Ever wonder what that little white rubber piece is that came with your GoPro camera? It’s called a locking plug, and you insert it after you’ve mounted the camera to lock everything in place and prevent unwanted vibrations. Use it.
Shooting from the Hip
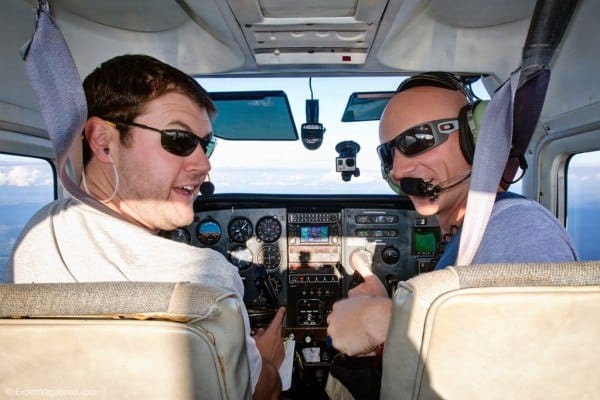
Because a GoPro doesn’t come with an LCD screen or viewfinder, it can be hard to figure out what you’re aiming at. You could purchase an LCD Bacpac, or use the GoPro App on your smartphone, but with some practice you’ll get pretty good at pointing the camera and “shooting from the hip”.
The key is to practice. Remember that the field of view is pretty wide. So for example, if you turn the camera around at yourself, it’s better to aim the center of the lens at your chest rather than your face.
Otherwise, the composition will be off, and you’ll have a bunch of empty sky above your head in the shot.
Get regular updates from the world of travel tech and remote work
News, reviews, recommendations and more, from here and around the web
Always Use a Leash/Tether
A GoPro camera is not exactly a cheap investment. Mounts can sometimes fail, and shit happens. To prevent losing your camera, always use a leash of some kind. It’s possible to make a cheap tether with some thin but strong 3mm accessory climbing cord.
I even use a tether when swimming, by stringing accessory cord from the GoPro head strap to my swim trunks, and it’s saved me a few times. Some people prefer the Floaty Back Door instead.

Play with Different Angles
Tell a story with your camera. Shooting an activity from only one angle is boring. Remember that you can stop whatever you’re doing, re-mount the camera somewhere else, and repeat the activity.
Later, when you’re ready to edit together the video, combine the multiple shots to make it look like you had 3 or 4 different cameras shooting the same activity from separate angles. This makes for a much more interesting and exciting video! It takes more time and planning, but it’s worth it.
Hold It Steady!
Finally, because the GoPro is so small, it can be difficult to keep it steady. This is one of the biggest problems new owners have. Shaky video footage is tough to watch and quickly gets annoying.
If possible, attempt to hold the camera with two hands, make sure all mounts are tightened down properly, and just pay attention to your movements. Slow and steady pans are preferable to flailing around like a maniac.
Summary
If you’re looking for a unique way to share your travel adventures with friends and family, you can’t go wrong with a GoPro.
It’s small, light, powerful, and can take the kind of abuse that other cameras can’t. The possibilities are only limited by your imagination.
Want more? Check out this review of our favorite (and least-favorite) GoPro accessories.
All images courtesy of the author.




Great post Matt! I have to say, watching you use your GoPro in South Africa inspired me to get my own. These are great tips. I think the next frontier of GoPro shooting involves radio controlled aerial drones but I’m afraid to take the plunge. Have you ever played with one?
Hi Dave! I’ve never flown one yet, but I’ve watched others use them. The footage is great. But until I can fit it in my backpack, or get paid big bucks to lug it around, I probably won’t be using one. 🙂
Great Post. I took my GoPro diving in Palau a few months ago. It was amazing!
A great tip for getting steady shots is to press the GoPro against your chin or mouth – which are generally more stable than your hand.
See this video for more info:
https://www.youtube.com/watch?v=kSfMcKhtFhw
Great post.
I’ve been looking into getting a GoPro recently, but what’s holding me back is that you can’t just buy the camera, you also immediately need to get a mount, a protective frame etc… which makes it pretty expensive indeed.
Great post. I’m actually in the market for a gopro, but I’m in a budget so I don’t want to spend a lot.
I was looking at the hero and the hero3 white edition. Mostly I will be taking more pictures than video.
Which one would you recommend?
Woah, stunning post for travelers. Loved the eye-catching photo. Good job 🙂
Hey Matt!
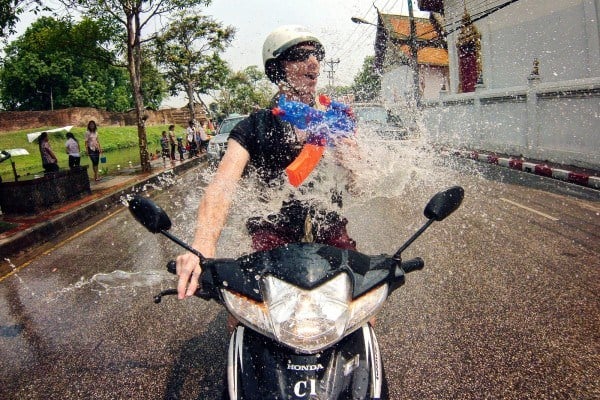
I just wanted to ask you what mount you used to take that picture riding on the scooter?! I’ve been trying to figure out the best way to take a scooter selfie and you seemed to figure it out.
Thanks!
Hi Whit! The scooter had a front metal basket on it, and I zip-tied a tripod inside the basket with a GoPro facing back at me in TimeLapse mode.