Nextbase 622GW Review: A High-End Dash Cam With a Price to Match
Dash cams typically fall into one of two camps: cheap versions that get the job done and nothing more, and pricy high-end models with better video quality and a wide range of extra features. The Nextbase 622GW is definitely the latter: it’s the company’s premium dash cam, as a glance at the spec sheet (and the price tag) shows.
Specifications and marketing hype are one thing, but does it actually live up to its promise? And even if it does, are the extra features and better video worth spending more money on? On a two-week road trip in the UK, I decided to put the camera to the test and find out for myself.

- Max Video Resolution: 4K
- Viewing Angle: 140 degrees
- Parking Monitor: Yes
- Location Logging:Yes
- Rear-View Camera: Yes (with optional module)
Design and Specifications
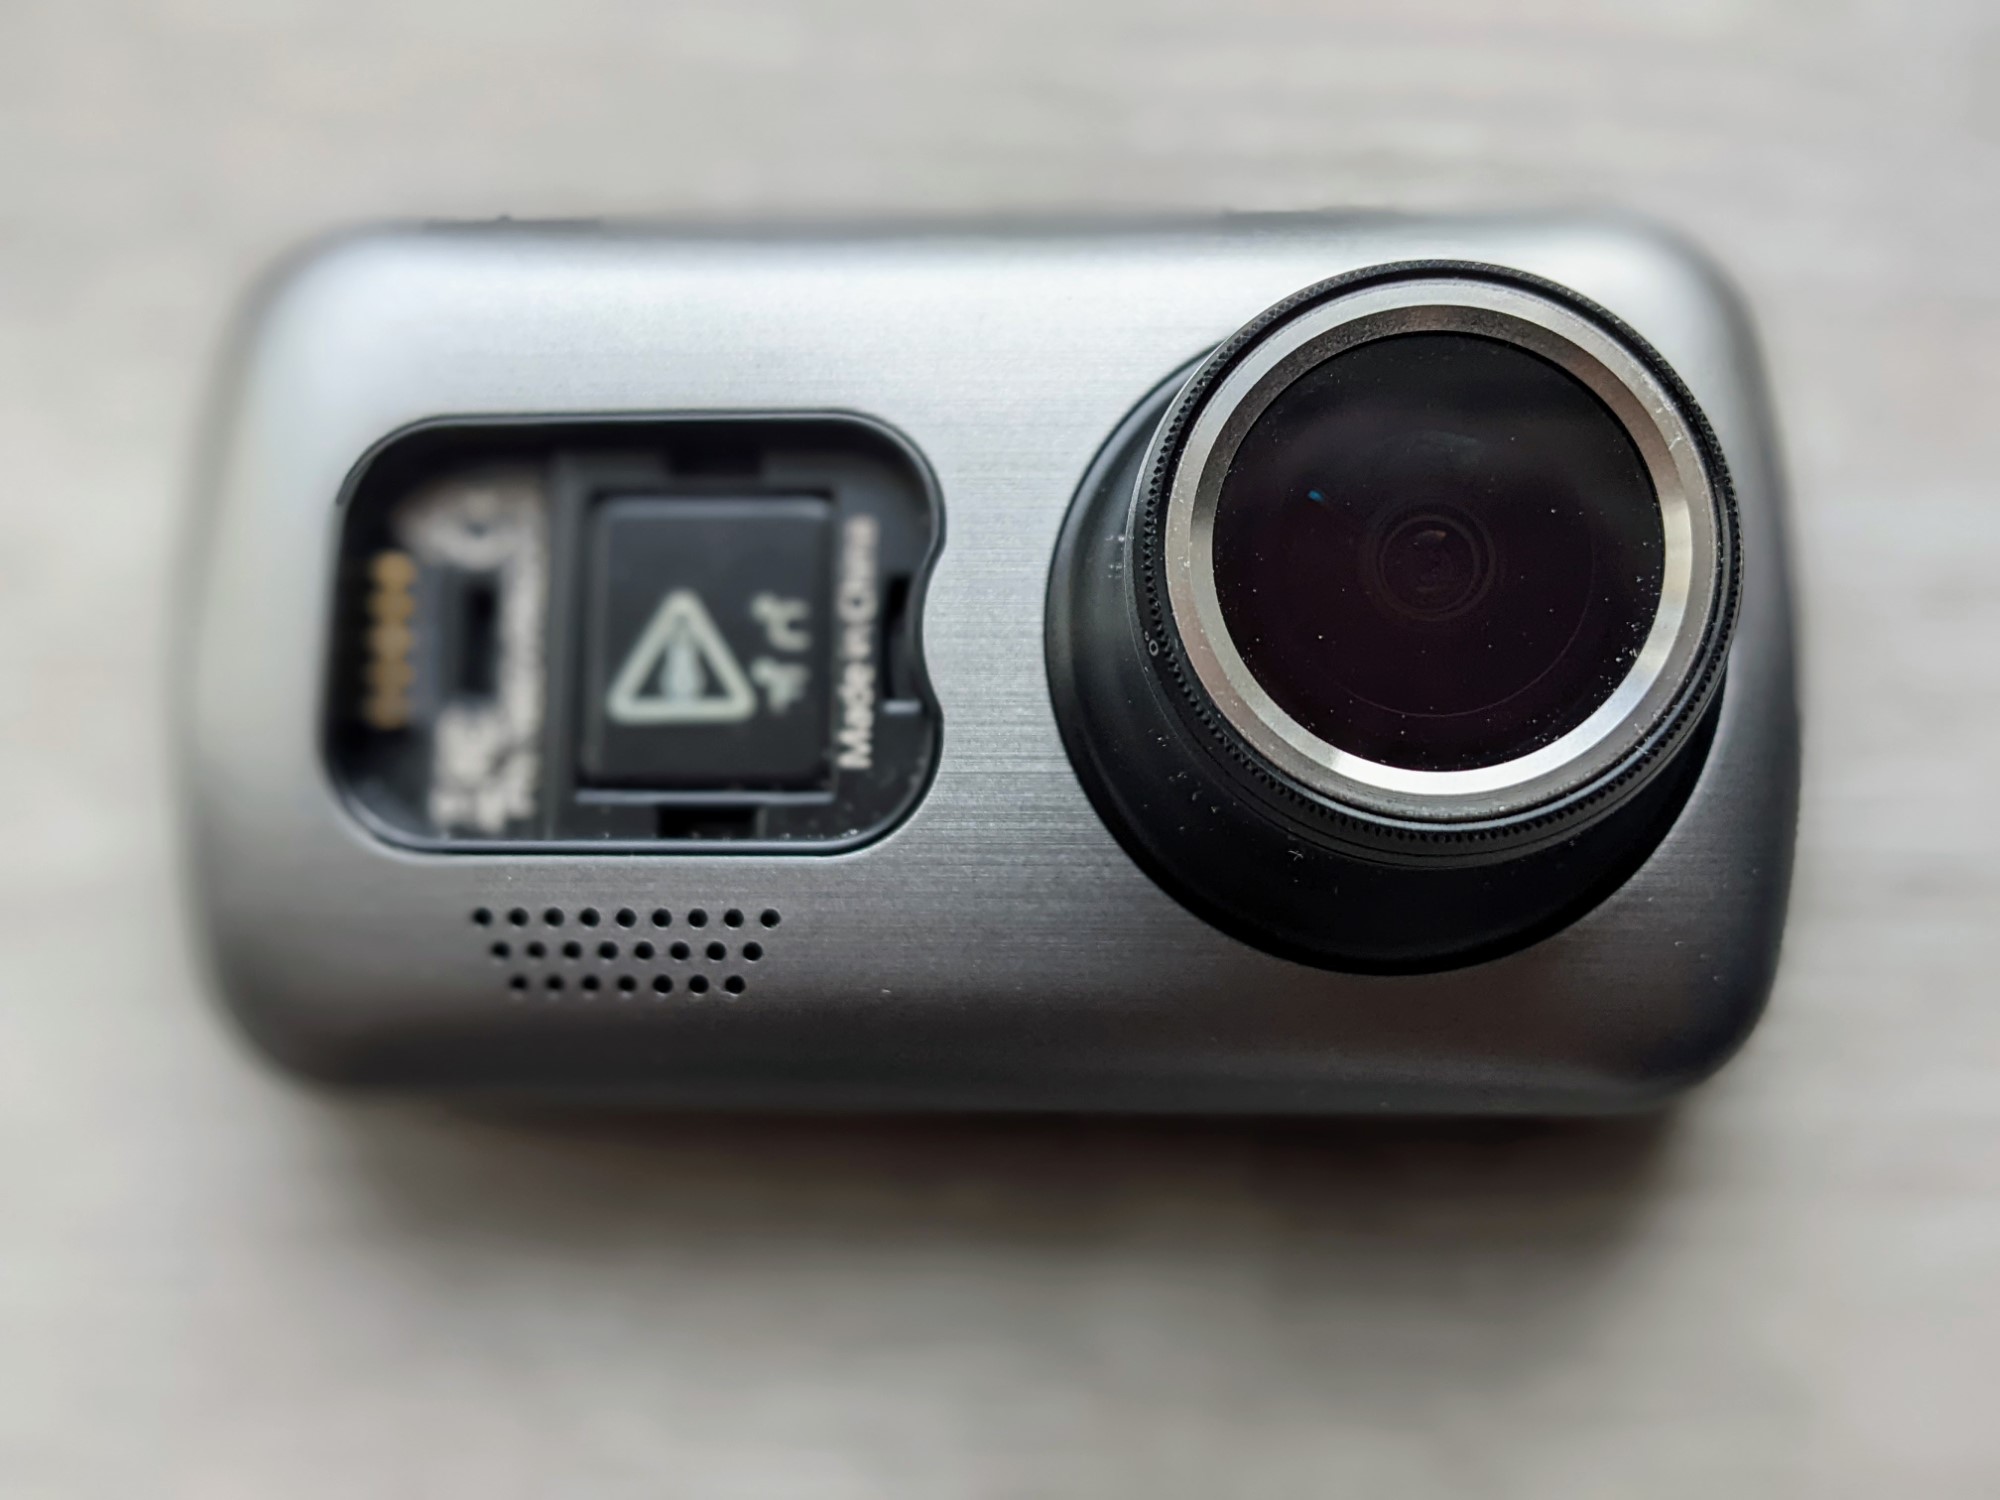
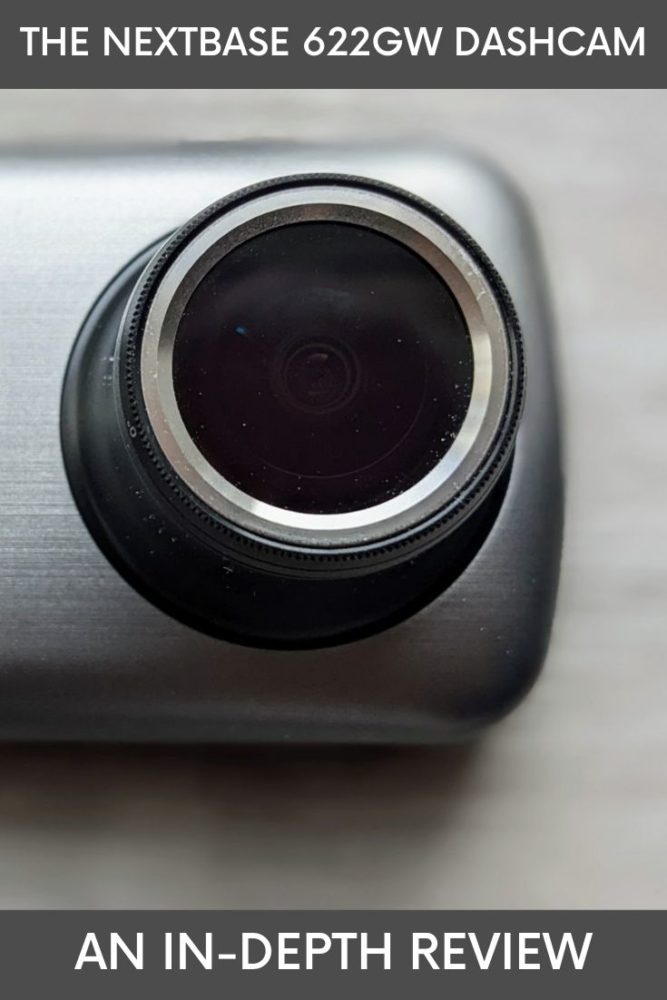
The 622GW is a chunky little dash cam, looking and feeling like a small digital camera when you pick it up. There’s a reason for that size and weight, however: there’s a quality lens on the front, and a lot of tech packed inside.
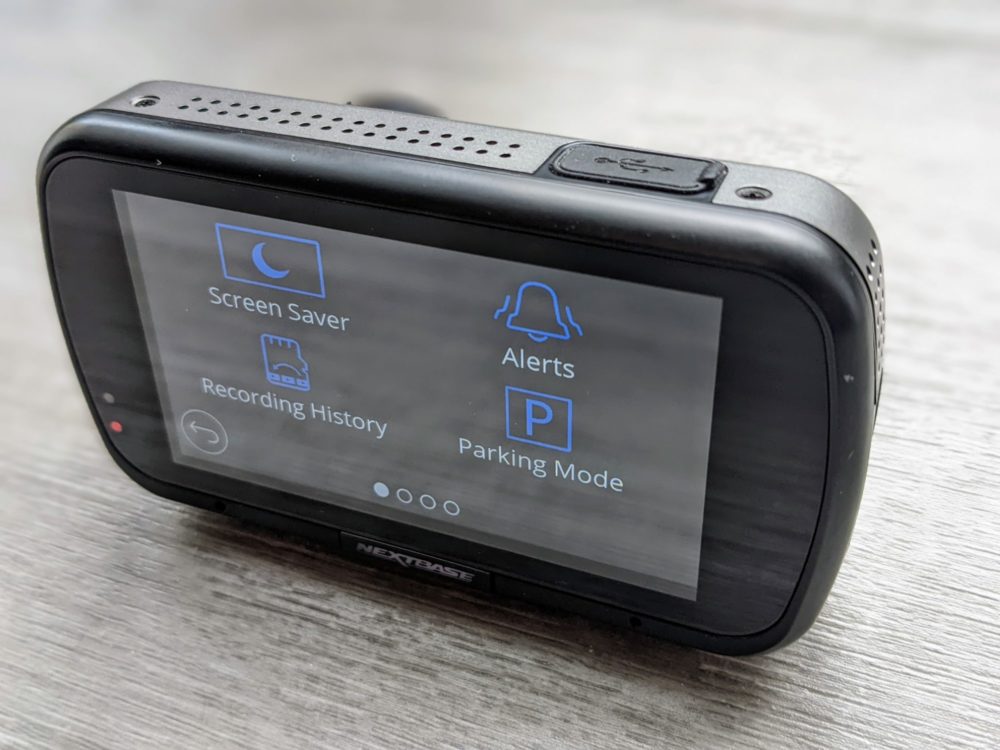
The back is dominated by a 3″ touchscreen that runs almost the full width, through which you navigate the menus and view live or recorded footage. Below that, there’s a button with the Nextbase logo: push this, and the last ten seconds and next twenty seconds of footage are saved to a protected storage area that won’t get overwritten.
The left side holds the power button and microSD card slot: anything up to a 128GB card is supported. You’ll need a high-speed (U3) card to handle the amount of data being created: a 64GB version came in the box, which can record around three hours of 4K footage from the main camera.
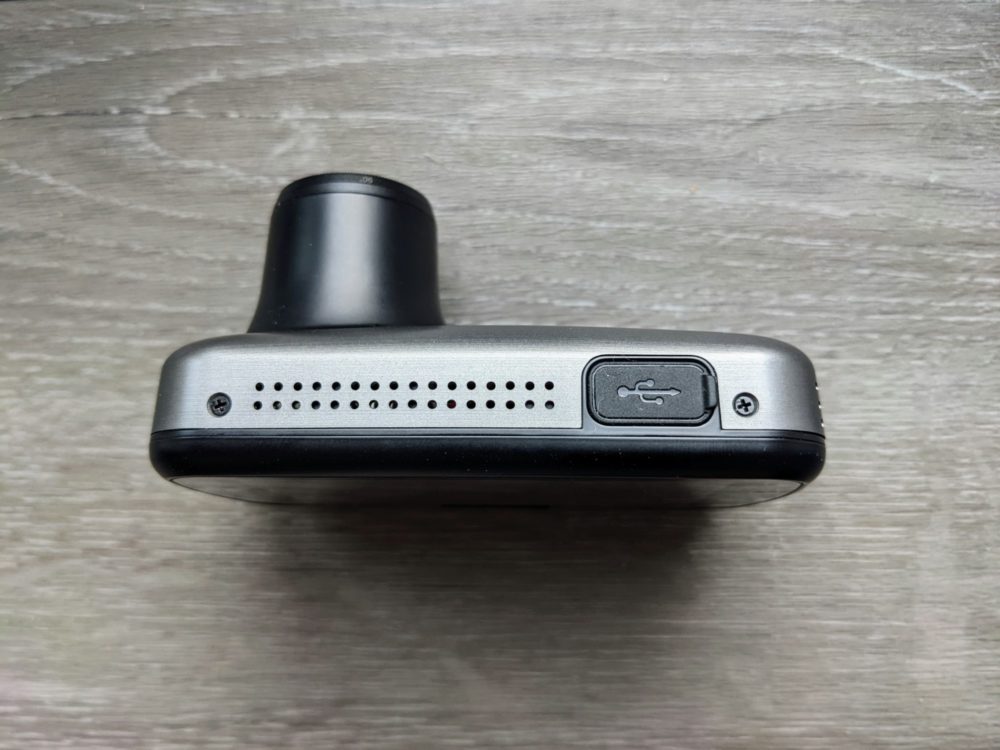
A mini-USB power/data socket sits on the top (two cables are included), while Nextbase’s expansion port is on the right-hand side. You’ll use this if you opt for one of the company’s add-on cameras, which let you also record what’s happening in the cabin and/or behind the vehicle.
So far, so good (although I’d have preferred to see a USB C socket for data and power rather than old-school mini-USB), but it’s what’s inside the 622GW that sets it apart. Let’s start with the most obvious selling point: the ability to record genuine 4K video.
That’s as good as it gets with dash cams right now: a lot of cheaper models promise “4K” in the marketing hype, which turns out to only refer to capturing still images, not what the unit can actually do with video in the real world.
That’s not the case here: you’ll get full 4K recording at 30fps, or higher frame rates at lower resolutions, including a HD 120fps Super Slow Motion mode for seeing precisely what happened in the event of a driving issue. That applies to the front camera, not the rear-view add-ons, which record only in HD.
Amazon Alexa is built in, so you can tell your dash cam to start and stop recording, for instance, or take a photo. It worked pretty reliably in my testing, although occasionally struggled to pick up my voice when there was a lot of road noise.
There’s also What3Words support, a useful way of communicating your exact location to others simply by saying three words rather than looking for landmarks or reading out lengthy GPS co-ordinates. Increasingly used by emergency and breakdown services, it’s quickly accessible via an on-screen icon, and doesn’t require data service to work.
Other features you’d expect from a good dash cam are here as well, like parking mode that starts recording if it detects movement while the vehicle is stationary, along with image stabilization, low-light enhancement, and the option to automatically contact emergency services in the event of a crash.
There’s a 320mAh battery inside, which provides around 15 minutes of recording time. It’s intended mainly to ensure a safe shutdown when the camera loses power, and for Parking Mode to work: don’t plan to run the camera on battery power while you’re driving.
Installation and Setup
Installing the 622GW wasn’t difficult, although it did take a bit of time. The camera attaches to the windshield via a sturdy adhesive mount, which you’ll typically place behind the rearview mirror.
It’s worth spending a bit of time getting the positioning right, especially if you plan to use one of the rearview cameras that sits on the side of the main unit. Put it in the wrong place, and you’ll find the view obstructed by your mirror. Yes, that is the voice of experience speaking.
Speaking of positioning, there’s a good chance that you’ll get some reflection off the windshield or dash, at least on sunny days. That’s where the polarizing filter on the lens comes into play: just rotate the front bezel while looking at the screen to find where the reflection is minimized.
The manual suggested putting a sheet of white paper on the dash to help calibrate the filter, which I did, and it worked well. The polarizer made a big difference to amount of reflection in the recorded video, to the point where I wondered why few other camera makers include this.
Usefully, the mount has its own power socket, so you can leave the cable connected at all times rather than having to plug and unplug it every time you attach the camera. The unit attaches magnetically to the mount, removable with a little effort, but otherwise staying firmly attached throughout my testing period.
To power the camera, you’ll need to run a power cable from your 12v/24v vehicle accessory port. A long cable is supplied for this purpose, but if you want to use your existing car USB charger rather than plugging directly into the accessory port, you’ll need a long USB to mini-USB cable to do so.
There’s an optional hardwire kit available as well, if you want or need to have the camera powered directly from the car battery rather than via the accessory port.
If you’re using the rear window cam, you’ll also need to run an (even longer) cable from the main camera to the back windshield of your vehicle. The other rearview cameras attach directly to the base unit, so they’re a lot less hassle to install.
Cable management can take a while, depending on your vehicle. It took me 10-15 minutes to thread the front power cable into gaps and behind panels in a small hatchback until it was out of sight. You don’t have to do this, but it makes for a much neater and less distracting installation.
On the software side, I only needed to set the time, date, location, and preferred units (miles or kilometers) to get started. It’s worth spending a few minutes looking through the settings, however, to see if you’d like to enable any features that aren’t on by default, like What3Words or parking mode.
Using the Dash Cam
As long as the power cable is connected, the dash cam automatically turns on and records when you start the car. Kill the ignition, and the camera powers down.
By default you’ll see a live video feed on the screen: if you have a rear camera installed, you’ll get a picture-in-picture view showing footage from both cameras. Tapping the smaller (rear) video window expands it out to full screen, letting you use it as a reversing camera.
Speaking of tapping, if you tap the screen while recording, the camera(s) save a still image to the SD card. It’s a quick way of capturing something of interest in the moment, without having to fumble with menus or apps.
Beyond that, there’s little to do to operate the dash cam. That’s by design: even if it’s not illegal where you are, you don’t want to be fiddling with settings or regularly touching the screen while you’re driving. Thankfully there’s no need.
I’d seen several reports of early versions of the 622GW freezing or locking up during recording, so kept a close eye out for similar problems during and after each trip. Thankfully, recent firmware updates seem to have helped a lot: I didn’t experience any issues during my two weeks of testing.
Video Quality
Nextbase talks up the video quality on the 622GW, and based on my experience, it’s right to do so. Video was pin-sharp when driving in both sunny and cloudy conditions, and the image stabilization worked well, even on bumpy sections of highway and potholed country roads.
As you’d expect, footage from the rear-facing camera wasn’t quite as crisp: it only records in HD, after all, not 4K. Even so, it wasn’t difficult to make out the number plate of cars as they came up close behind me, or passed in adjacent lanes.
I (thankfully) didn’t have to drive in terrible weather during my testing period, but there’s an inbuilt Extreme Weather mode that enhances the image in particularly foggy or misty conditions.
What I did get to test, however, was driving at night. Many dash cams really struggle with this, massively overexposing streetlights and oncoming headlights, and struggling with noise and blur on dark streets the rest of the time.
That wasn’t the case here: while there was a slight loss of contrast and detail in tunnels and at night, and some flaring around bright lights, it was much less of an issue than what I’ve seen on other models. Coming out of a tunnel into bright sunlight, the camera was also quick to correct the exposure.
MyNextBase Player App
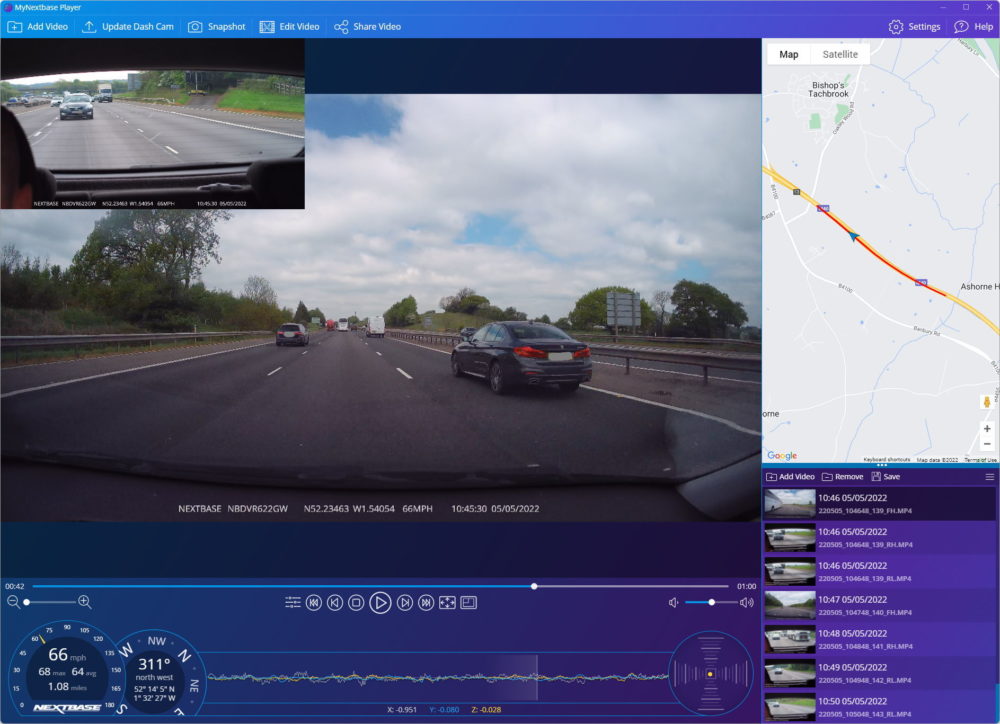
MyNextBase Player is the companion app for the company’s dash cams, and is available for iOS and Android, Windows and macOS. Features differ somewhat between mobile and desktop versions, but on desktop at least, you can view, edit, and manage still images and video footage, change camera settings, and more.
You don’t have to use the app if you don’t want to, since both images and video are saved in standard formats and can be copied directly from the camera over Wi-Fi or with a cable. It does make video management in particular much easier, however.
The initial setup of the mobile app was a bit fiddly, not helped by the need to immediately download a firmware update for the camera, but it was fine after that. Importing individual video files (they’re a minute long by default) doesn’t take long even over Wi-Fi, but expect to be sitting there for quite a while if you want to pull in all the footage from a cross-town journey.
Once you’ve got your video stored locally, the player shows everything from your vehicle speed, location, and direction to G-forces and a map view alongside your recorded footage. If you’ve got a second camera installed, you can choose between picture-in-picture, split screen, or single camera views.
If you want to edit your footage, you’ll need to use the desktop version of the app. With it, you can combine video files, trim the start and end points, and add text and other annotations. You can also choose to remove sound and/or telemetry data if you don’t need it, and choose the resolution to export at.
Unless you have a particularly fast machine, expect the export process to take a while: the 43 seconds of video above took about five minutes on my laptop. I could have done without the Nextbase logo at the end of the exported video as well, but other than that, the process worked fine and there was no apparent drop in quality.
The phone app is fine in a pinch, but I preferred the desktop app to the mobile version, due both to the extra editing features and the speed and stability that came with using a USB cable versus a wireless connection to the camera.
Get regular updates from the world of travel tech and remote work
News, reviews, recommendations and more, from here and around the web
Conclusion
All in all, I was very impressed with the Nextbase 622GW. It lived up to its own hype, providing high-quality video recording in a range of driving conditions, with an app that made it straightforward to review, manage, edit, and export that video as needed.
Easy to install and use, the mounting system was secure and reliable, but it was still easy to remove the camera when needed. The range of rear-facing modules means that you’re not restricted to recording only what’s happening in front of you, and there’s a raft of extra safety and security features rarely found on other models.
All of this, however, comes at a price. The Nextbase 622GW has a list price of $399.99, with the rear camera modules an extra $99.99 if you decide you want one. That’s a touch under five hundred bucks, and while you may find it cheaper on Amazon, you’re still looking at a substantial outlay.
For some people, it won’t be worth the extra cost: a more basic dash cam with lower-resolution video and fewer features may provide enough peace of mind for a lot less money. Nextbase itself offers several cheaper versions, and there’s a near-endless range of other manufacturers doing the same.
If you want one of the best dash cams money can buy, however, and especially if 4K video is a non-negotiable for you, the 622GW should be right near the top of your shortlist.
Buy on AmazonAll images via author


As you say is top end but has issues if hardwired. If you have a vehicle like a BMW that monitors battery drain you will encounter a warning almost every morning if you have the parking mode on. This is not widely published, but is an issue on many dash cams not just Nextbase. To get round this if you want to use the parking facility a independent rechargeable power source is needed at a cost of £200+. Nextbase don’t publish this nor have I seen this issue in any review.