Anker PowerCast M300 Review: A Good Desktop Microphone on a Budget
Gone are the days when the quality of your computer microphone didn’t matter. Whether you’re on Zoom calls from home, recording podcasts and presentations, or live-streaming on Twitch, a low-grade mic is a surefire way of upsetting your audience.
USB microphones that you plug into your laptop or desktop have been around for years, and come in all shapes, sizes, and of course, prices. Some are good enough to use for professional recording, while others make you sound like you’re sitting at the bottom of a well with a sock in your mouth.
Anker sent me one of its latest models, the PowerCast M300, so I could find out where on that spectrum it fell.
Design
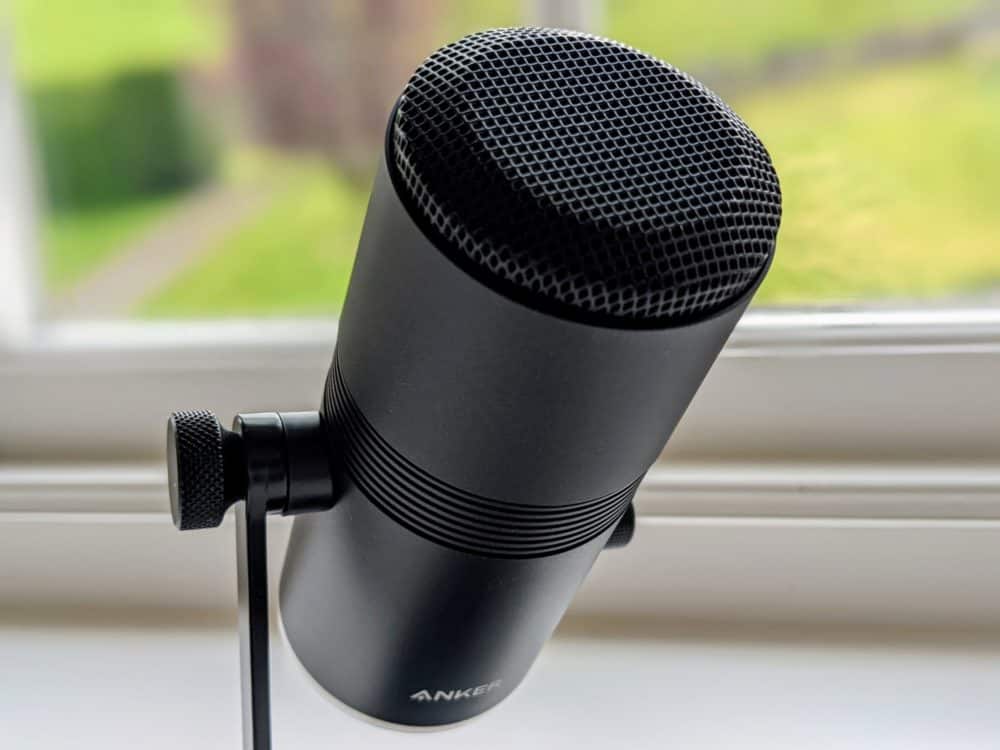
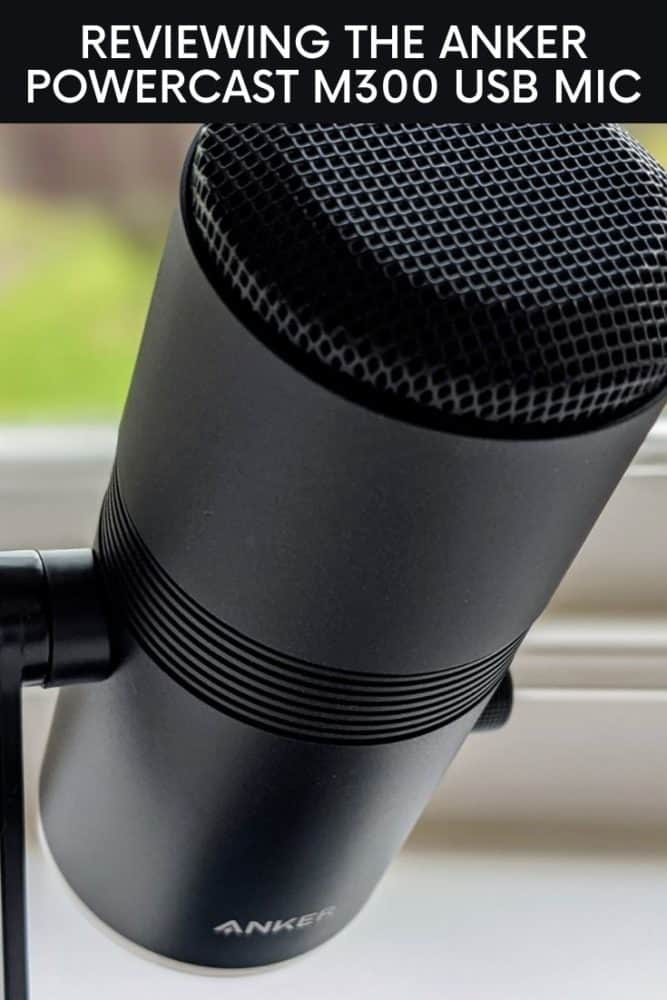
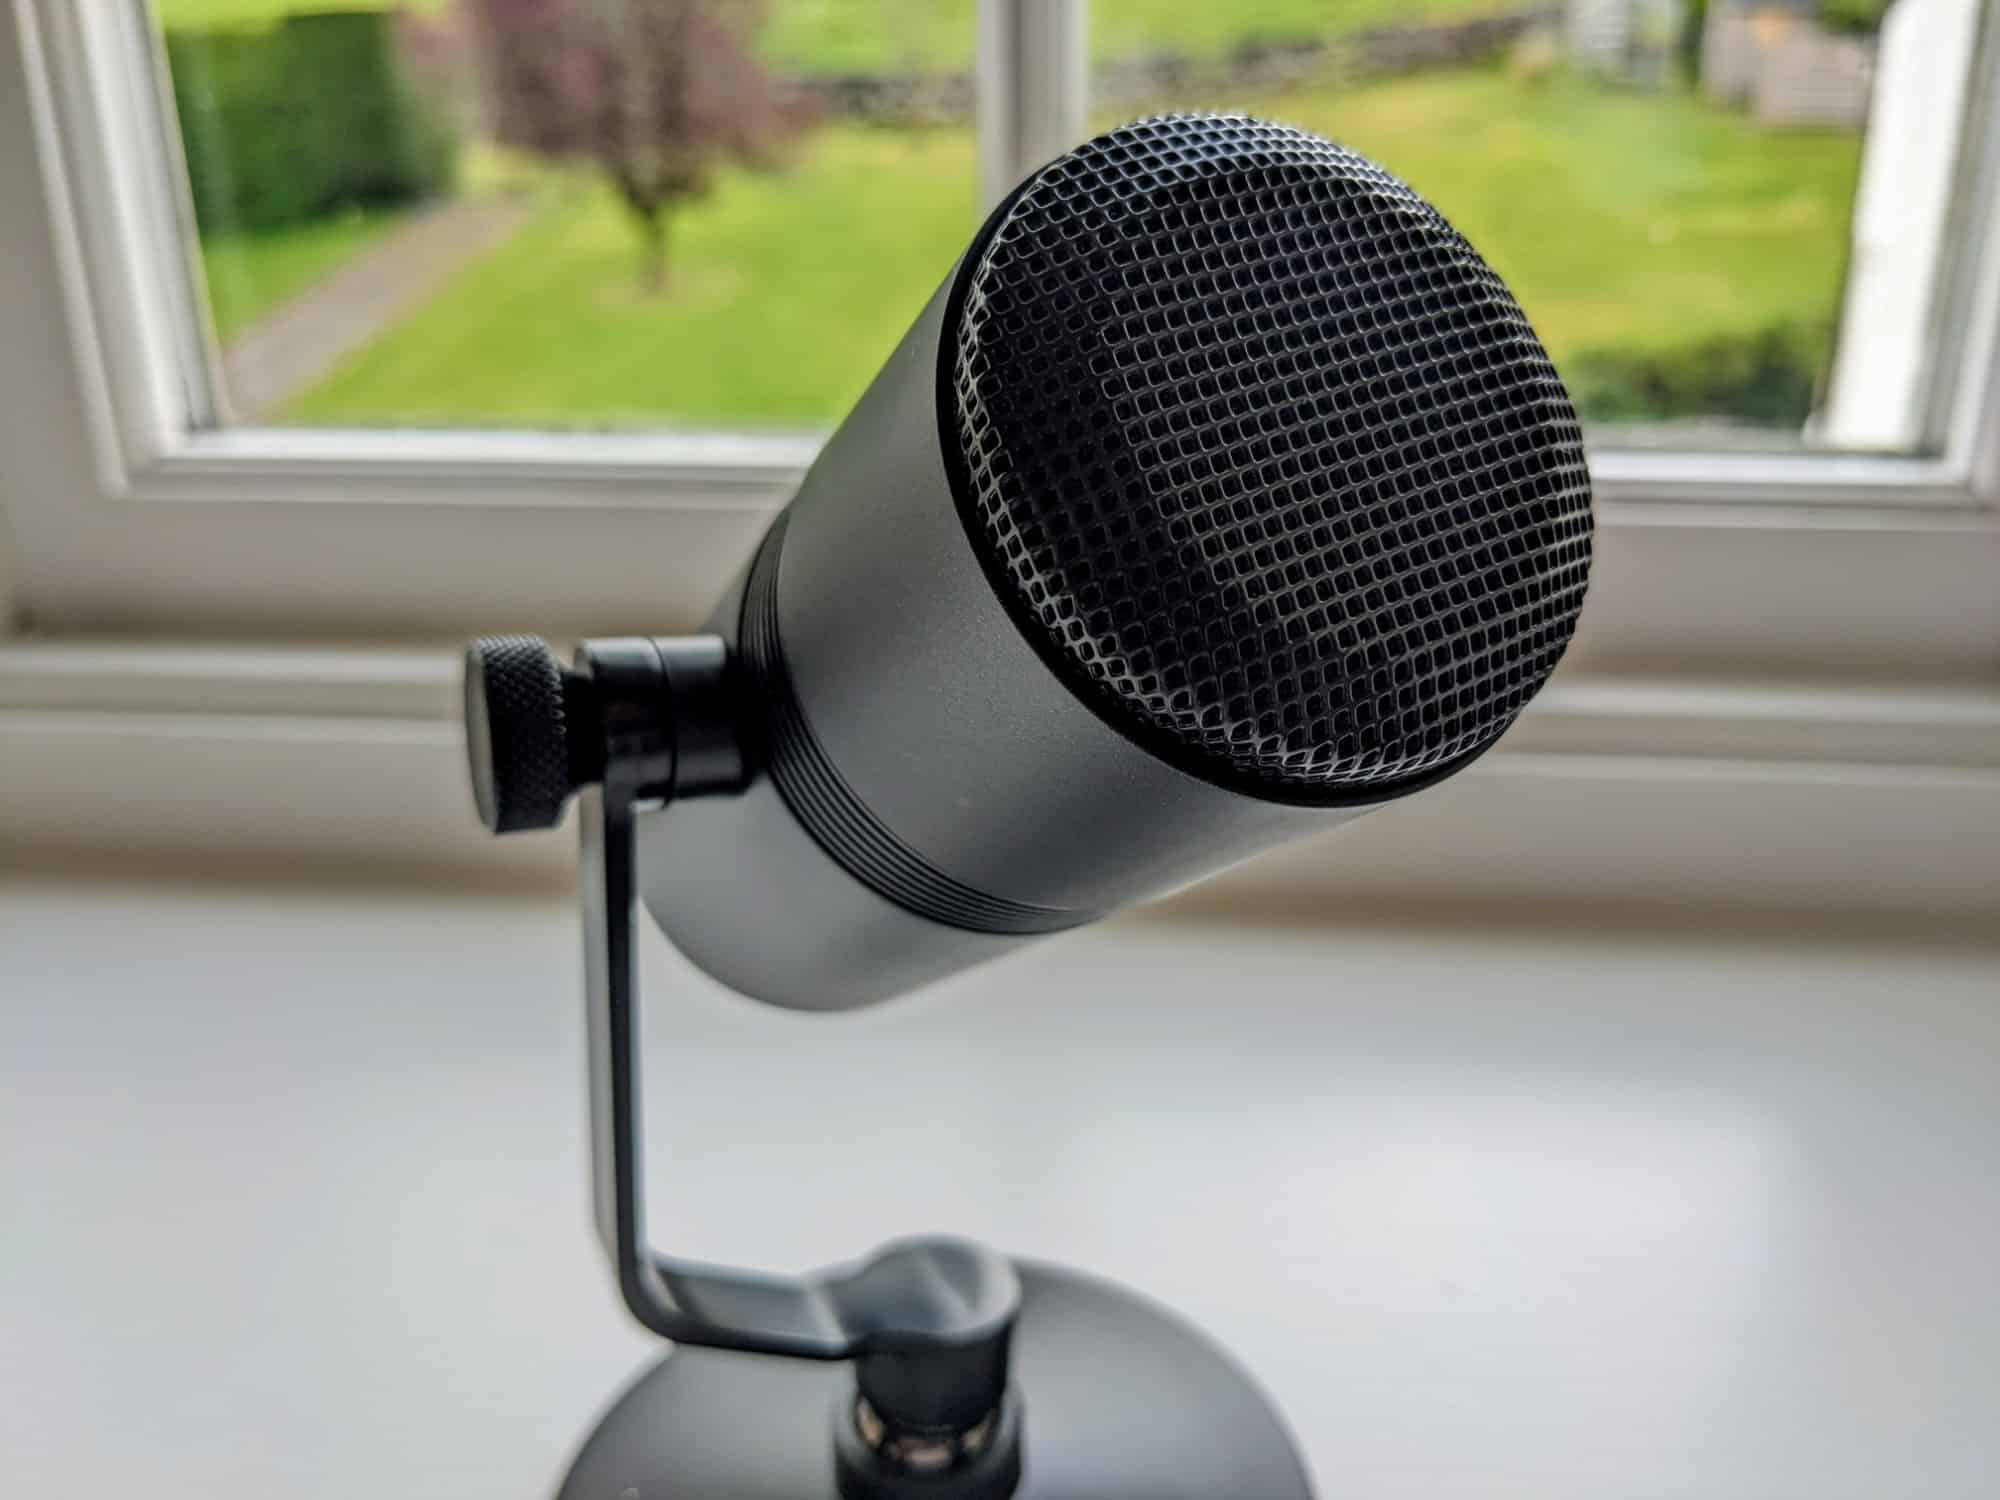
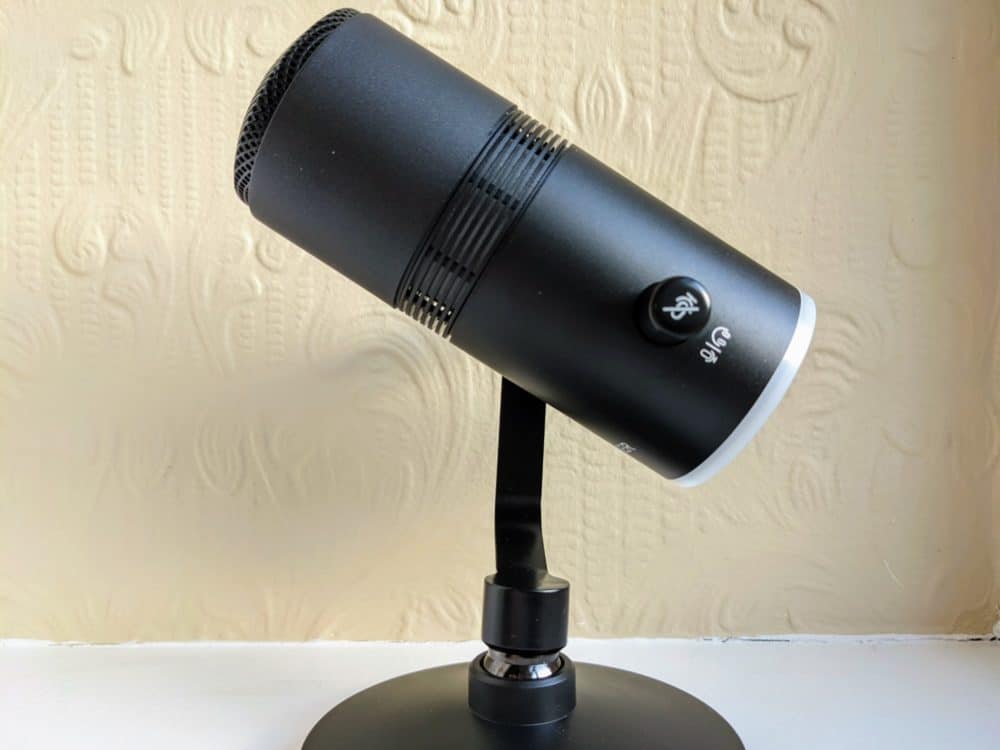
Simply put, the M300 looks and feels more expensive than it is. It’s a simple, stylish design (other than the RGB lighting), with the exterior made almost entirely from a matte black plastic that does a good job of not being a fingerprint magnet.
Relatively small for a desktop mic, it attached easily to the threaded ball joint on the base, and stayed firmly in whatever position I moved it to. You’ve got two ranges of movement: that ball joint, and a screw on the side that lets you swing the microphone to sit vertically, horizontally, or anywhere in between.
I’ve used similarly-priced microphones in the past that wobbled around no matter how tight the screws were, and/or toppled over at the slightest knock. The M300 isn’t one of those, and felt sturdy and well-made.
The petite nature of this mic does have one minor drawback: depending on your desk setup and seating position, it may not sit quite close enough to your mouth for optimal recording. If that’s the case, you can use a tripod or boom arm instead of the desk stand: anything with a 13.5mm thread will work.
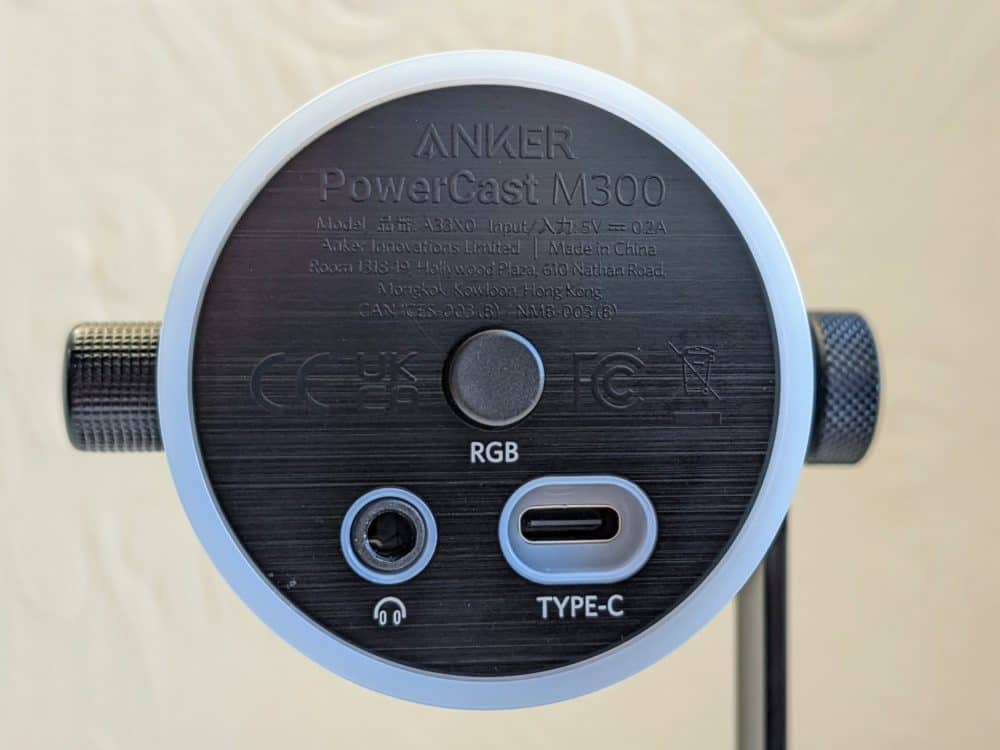
For those into RGB lighting (I’m not, particularly), you’ll be happy to hear that there’s plenty of it. A ring around the base gently pulses in one of 23 different colors, while a more subtle ring in the middle indicates the volume level by how brightly it glows.
On the underside of the microphone sits the USB C port for connectivity, a 3.5mm audio jack to connect your headphones if you want to hear yourself as you speak, and a button that controls the RGB lighting.
A single control knob on the side is the one you’ll use the most. Pushing it mutes and unmute the mic, while twisting it sets the microphone gain or headphone volume. Pushing and holding the button for two seconds switches between controlling the mic and the headphones.
The middle RGB changes color to indicate the status: red when the mic is muted, blue when it’s enabled, and green when you’re setting the headphone audio level.
Unfortunately there’s no limit to how far you can twist the knob in either direction, so you have to guess the volume based on the brightness of the middle RGB ring. That’s something you’ll be doing a bit of, since the level isn’t retained when the microphone loses power.
There’s no separate power button, but turning off your computer or unplugging the mic means you’ll need to tweak your settings each time. Individual 1-10 positions on the dial, or at least storing the previous settings, would make things easier.
The M300 works with Windows, macOS, and Linux, but not mobile operating systems. There’s a pair of cables in the box, with a USB C plug on one end and either a USB C or USB-A plug on the other. If you need an audio cable for your headphones, however, you’ll have to supply it yourself.
Setup
Setting up the M300 couldn’t have been more simple. It took all of 30 seconds to screw the microphone into the base, adjust the position and tighten the screw to hold it in place, and plug in the USB and audio cables.
Likewise, there was very little to do on the software side either. My Windows 11 laptop detected the microphone and installed the drivers automatically. The only issue was Windows deciding the M300 was also a speaker and trying to play audio through it as well: switching back to the actual speaker soon sorted that out.
Plugging an audio cable between the mic and a set of headphones worked straight away. The default headphone volume was pretty loud and picked up every breath and movement, but a couple of turns of the dial returned things to a more sensible level.
Audio Quality
Intended to be used by someone sitting very close to the microphone, Anker recommends placing the M300 within a foot of your mouth. That was borne out in my testing, with clarity and (especially) volume dropping significantly when I took a step back from my desk.
It’s a cardioid mic, picking up sound from directly in front rather than all around. While you could still hear my partner talking from three feet away and off to the side, it was much quieter in the recording than in real life. This is an individual microphone, not one for conference calls or in-person interviews.
The M300 didn’t pick up a lot of background noise, even with birds singing outside and a washing machine spinning in the next room. It did less well with vibrations, however: turning the knob on the side was clearly audible, as were scrapes and bumps on the desk.
As with many microphones that sit so close to your face, it would benefit from the addition of a pop filter to reduce the sound of plosives like “p” and “b”. I’d have liked to see one in the box, but you can pick one up cheaply enough if you find it to be too much of an annoyance.
I performed a range of audio quality tests, recording the same few sentences with three different devices: the M300 (at various distances), my laptop’s inbuilt mics, and a pair of Sony headphones. I then played them back one after the other to compare the differences, and also called a friend on Skype using each of the above options.
After all of that, the consensus was clear: overall, there wasn’t much difference between the three. My voice sounded slightly clearer through the M300 than the other two options, but unless my mouth was less than six inches from the microphone, it was noticeably quieter as well.
Turning up the gain helped, but only to a point: at maximum gain, there was electronic noise throughout the recording that more than offset any benefit from the extra volume. I found that around 70-80% was the sweet spot between volume and noise, at least in my testing environment.
It may seem like “not much difference” isn’t a glowing recommendation, but it’s all relative to what you’re comparing it to. I’ve always been very happy with the quality of my laptop microphones, and my headphones were some of the best on the market when they came out.
Given that, and especially for the price, the audio quality of the M300 was better than I anticipated. I wouldn’t mind some extra volume without having to crank the gain up so high, but if my biggest issue is having to sit a few inches closer to the mic, that doesn’t feel like the end of the world.
Get regular updates from the world of travel tech and remote work
News, reviews, recommendations and more, from here and around the web
Conclusion
So who is the PowerCast M300 for?
The obvious answer here is: anyone who’s unhappy with the quality of their existing computer microphone. If you’re getting complaints from co-workers, family members, or grumpy people in your favorite Discord channel about how bad your voice sounds, the M300 should noticeably improve things.
Is this a pro-level mic? No, it isn’t — but it’s not priced like one either. Instead, it’s an attractive and functional alternative to the crappy microphones that come with so many cheaper desktop and laptop computers, at a price that isn’t going to leave your wallet gasping.
It’s not without its issues, but that’s equally true of anything at this price point, and you can work around most of them with a minimal amount of effort. All in all, it’s a solid effort from Anker, backed by the usual 18-month warranty and strong support we’ve come to expect from the company.
Images via author